In character fabrication, we started out with planning our original character puppet while learning the basics of Stoopid Buddy’s process. For our puppets, we are going with the build-up technique. Built on a wire armature bundle derived from the Stoodio’s developed method, we are then going to sculpt the body from foam and coat that with latex. My character, as you might imagine if you’ve been following along, is one of the main characters from my thesis. It is the Caterpillar. I felt that she would present a true and proper challenge while standing out in her own, unique way.
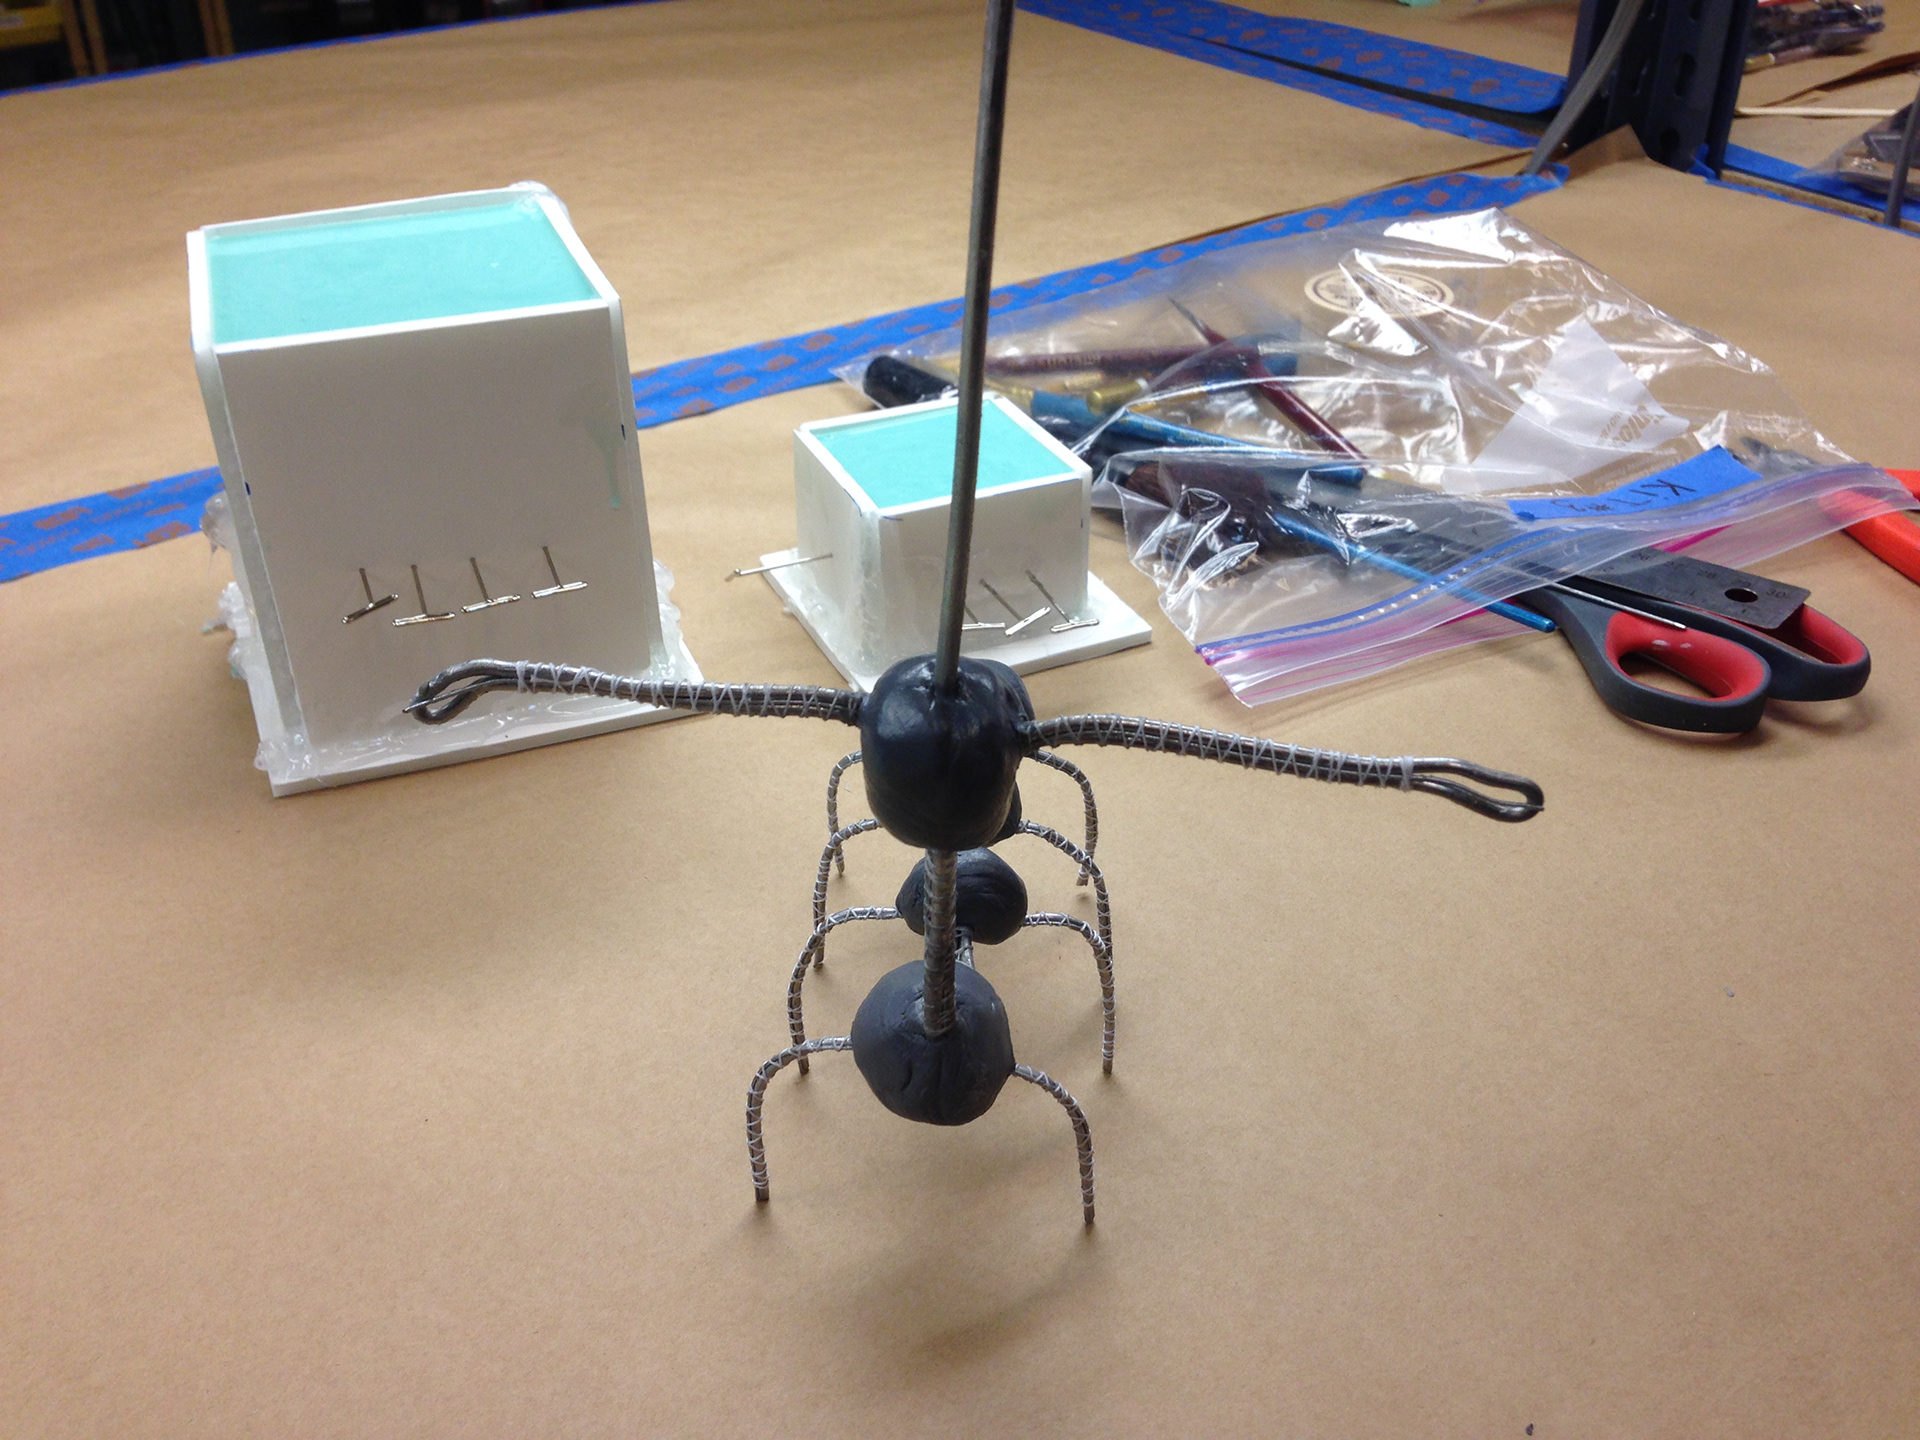
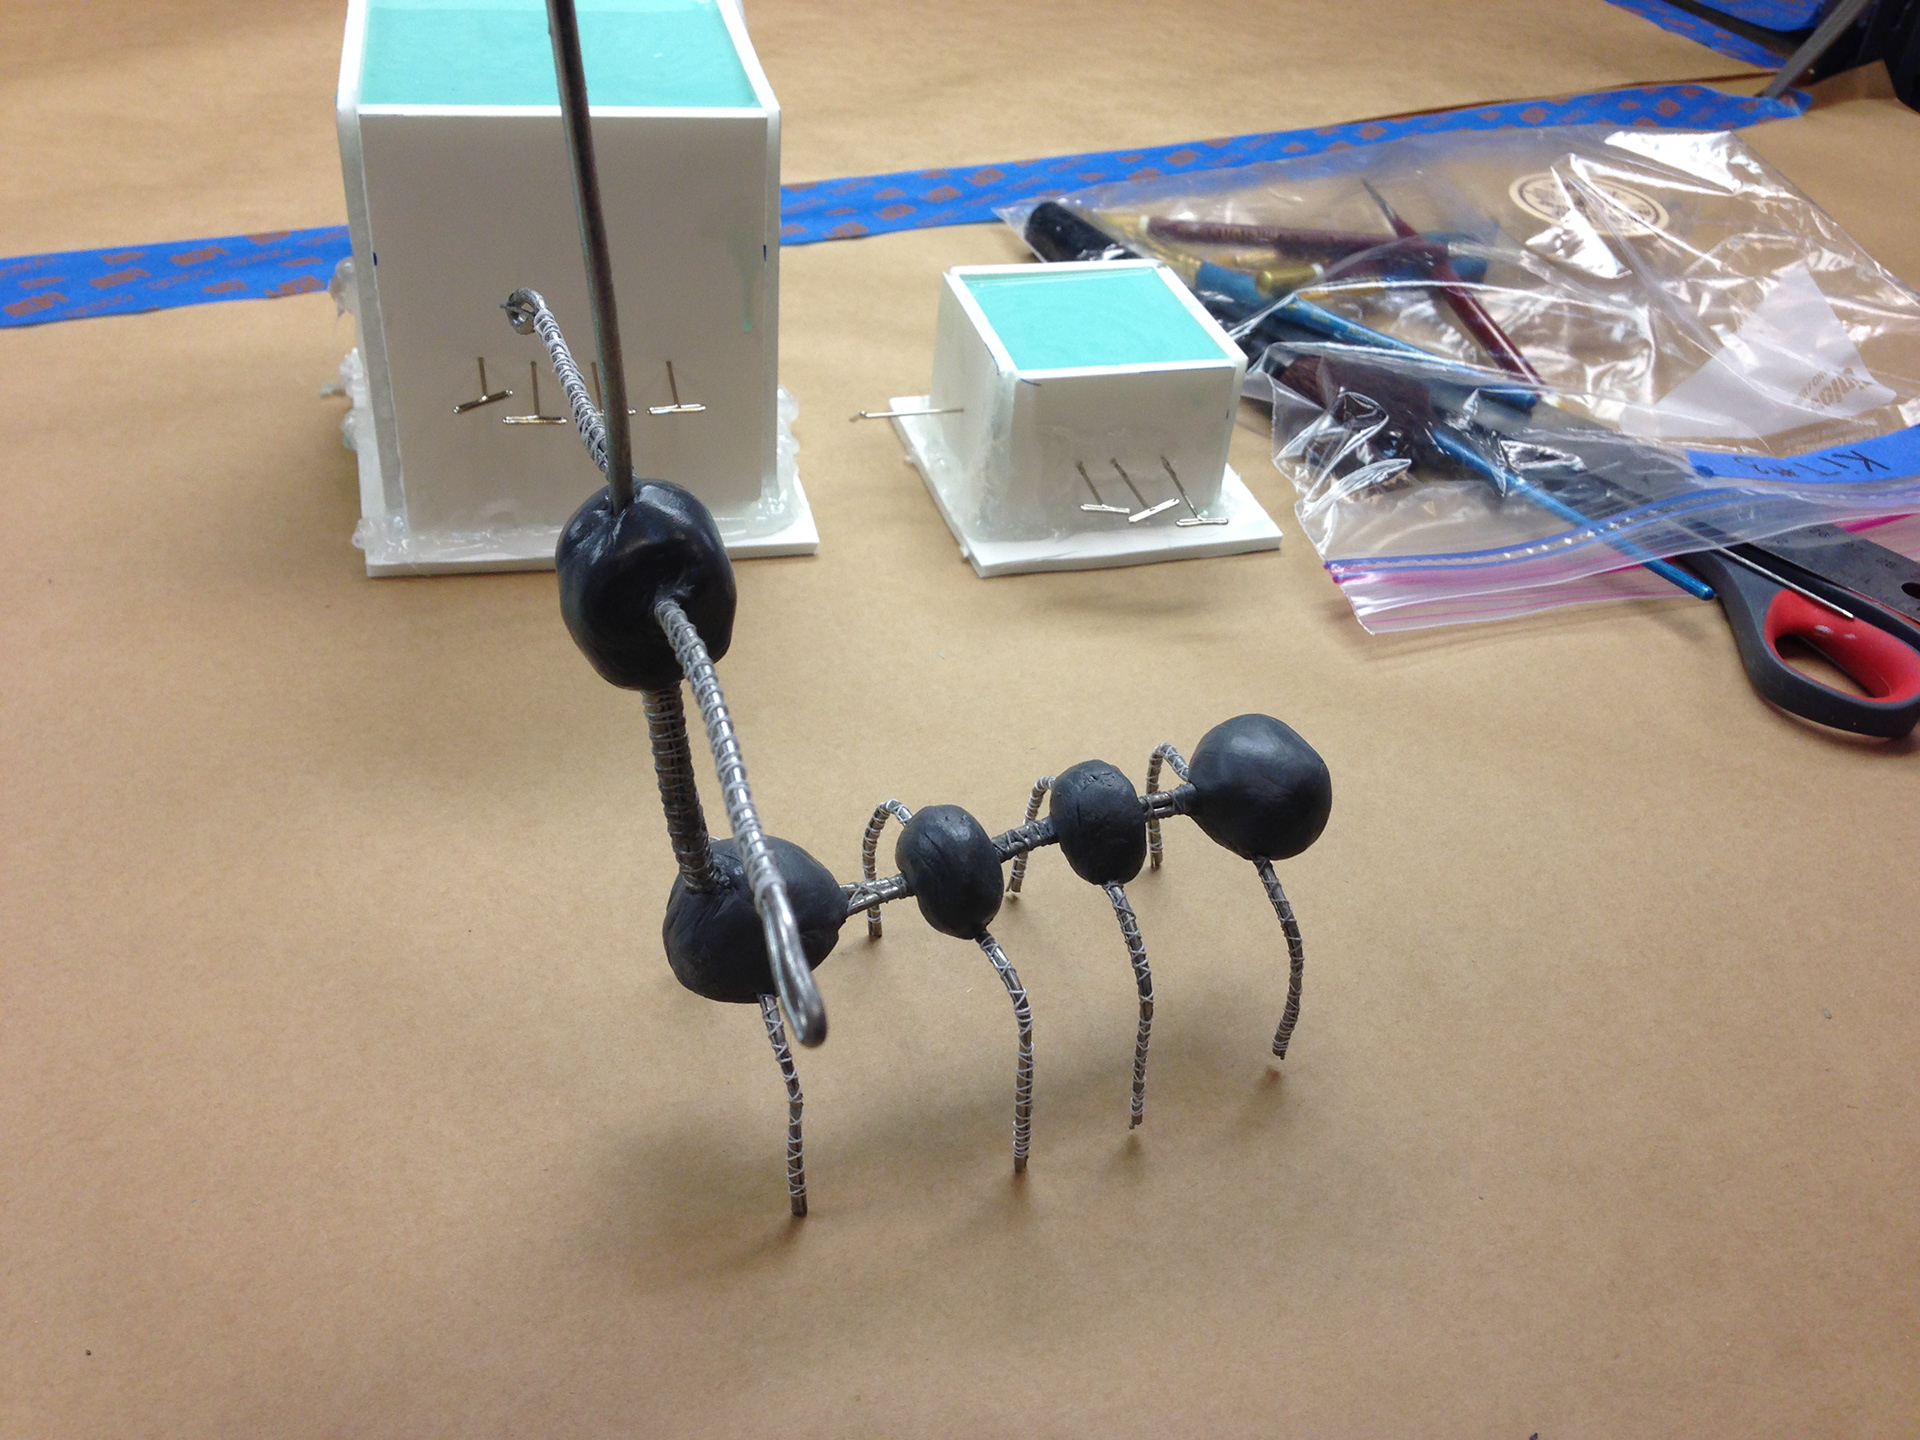
Here is the armature build. It is a combination of various gauges of aluminum and steel wire for flexibility, strength and memory, bound together and wrapped/lashed tightly with string and adhesive. Body blocks are formed from epoxy and contain the tie downs at the ends, also bonded to the wires contained within. It is still pre-hands here, but they will be formed from another bundle of steel wires lashed to the wrist loops. The neck and leg wires are intentionally left long at this point to allow for working room while forming and adhering the foam body. The legs were a bit tricky and took a previous test to settle, but this form should work fine. There is actually a ‘notch’ at the top of each leg arch encased in the epoxy to help prevent the wire from coming loose and shifting back and forth or side to side.
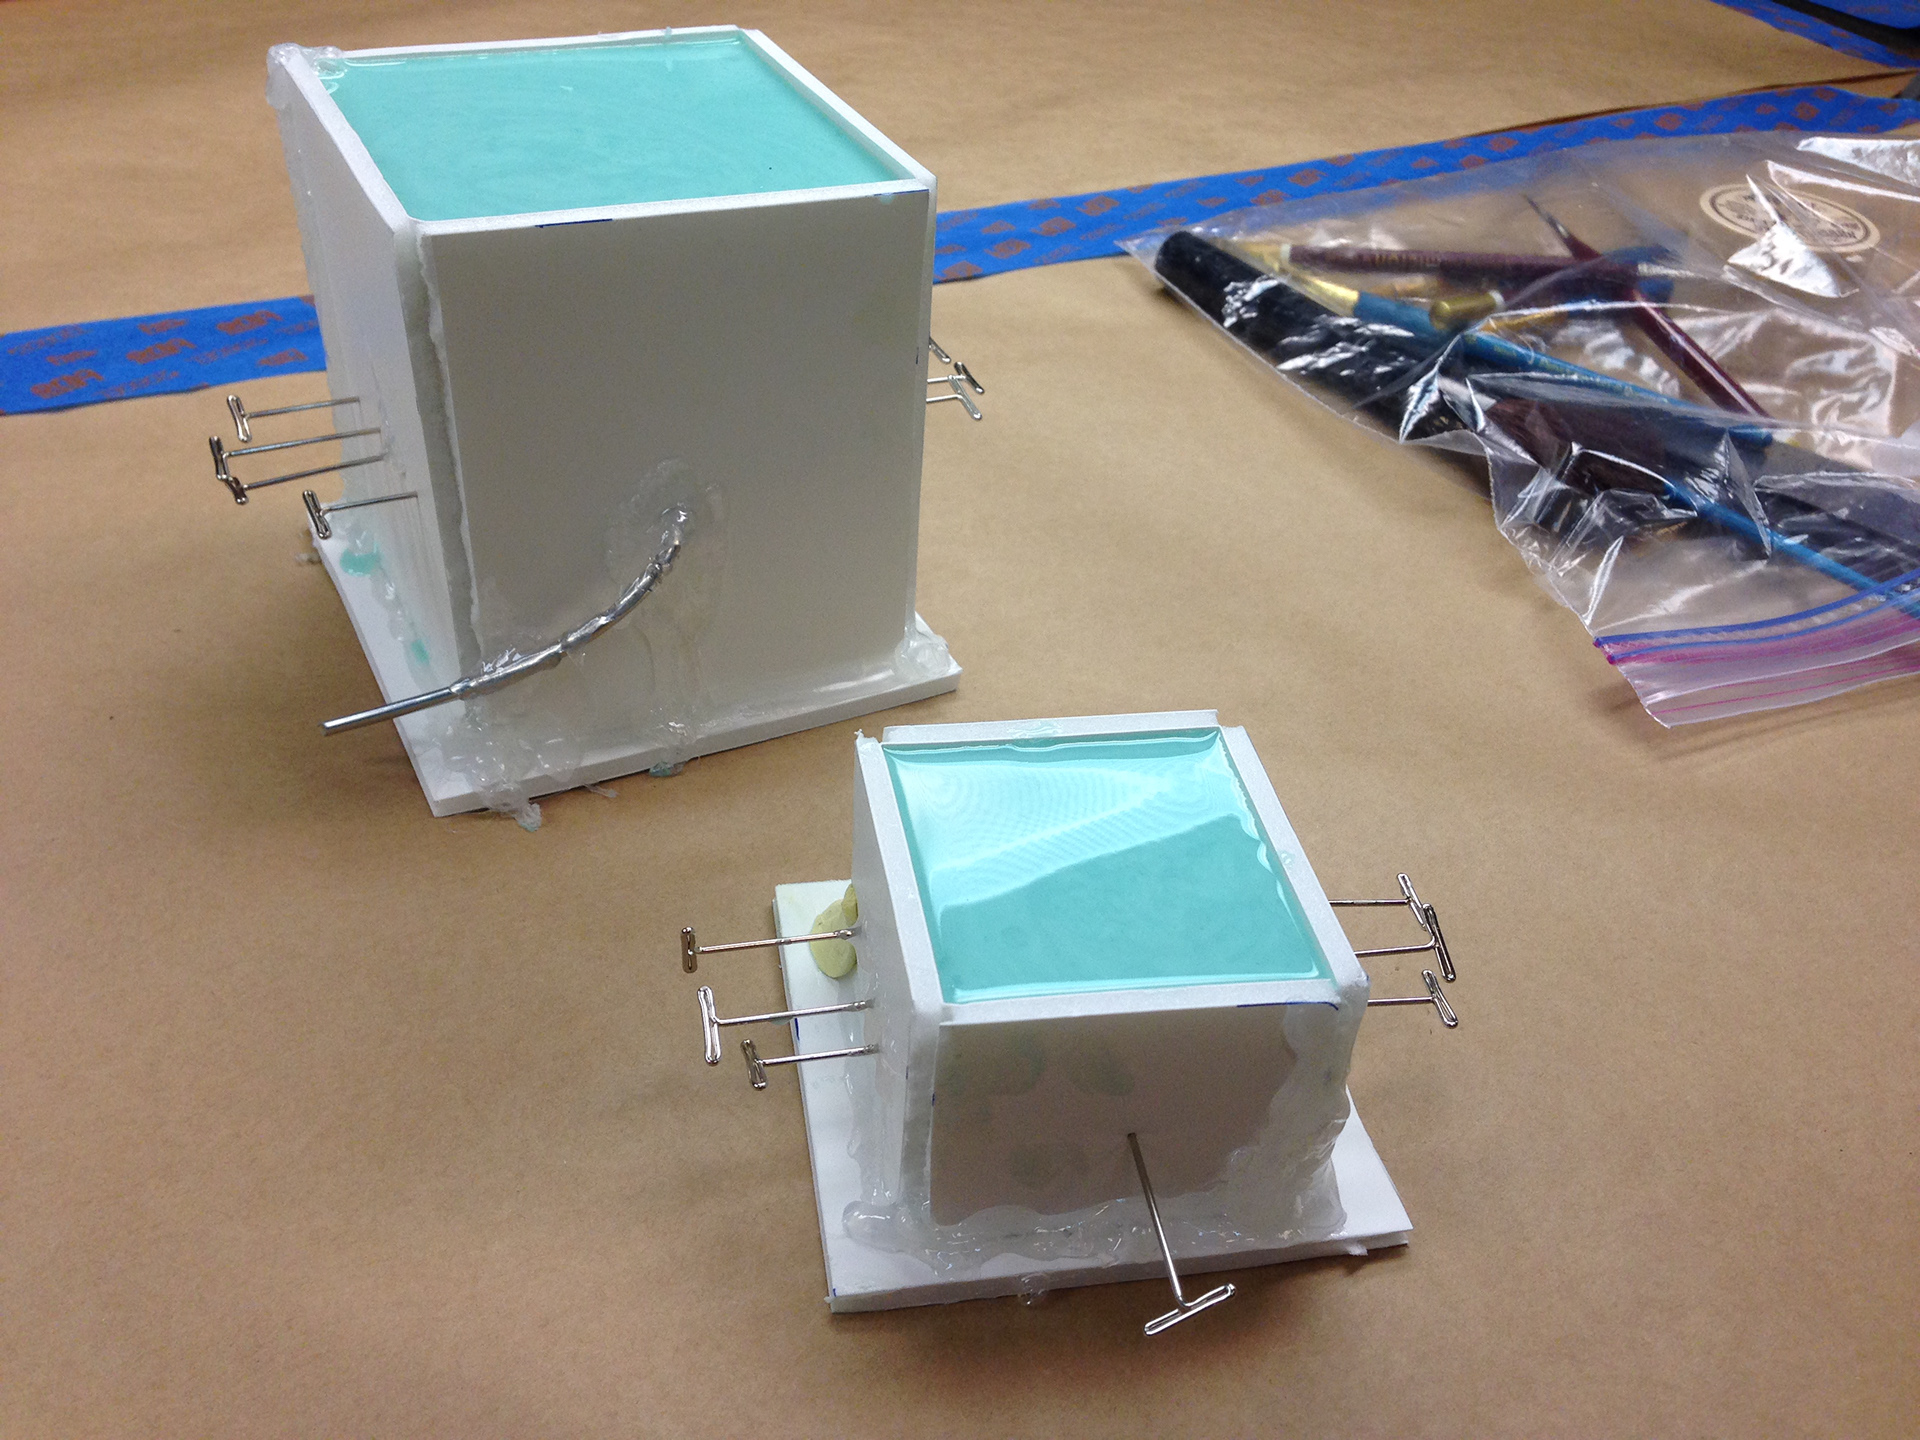
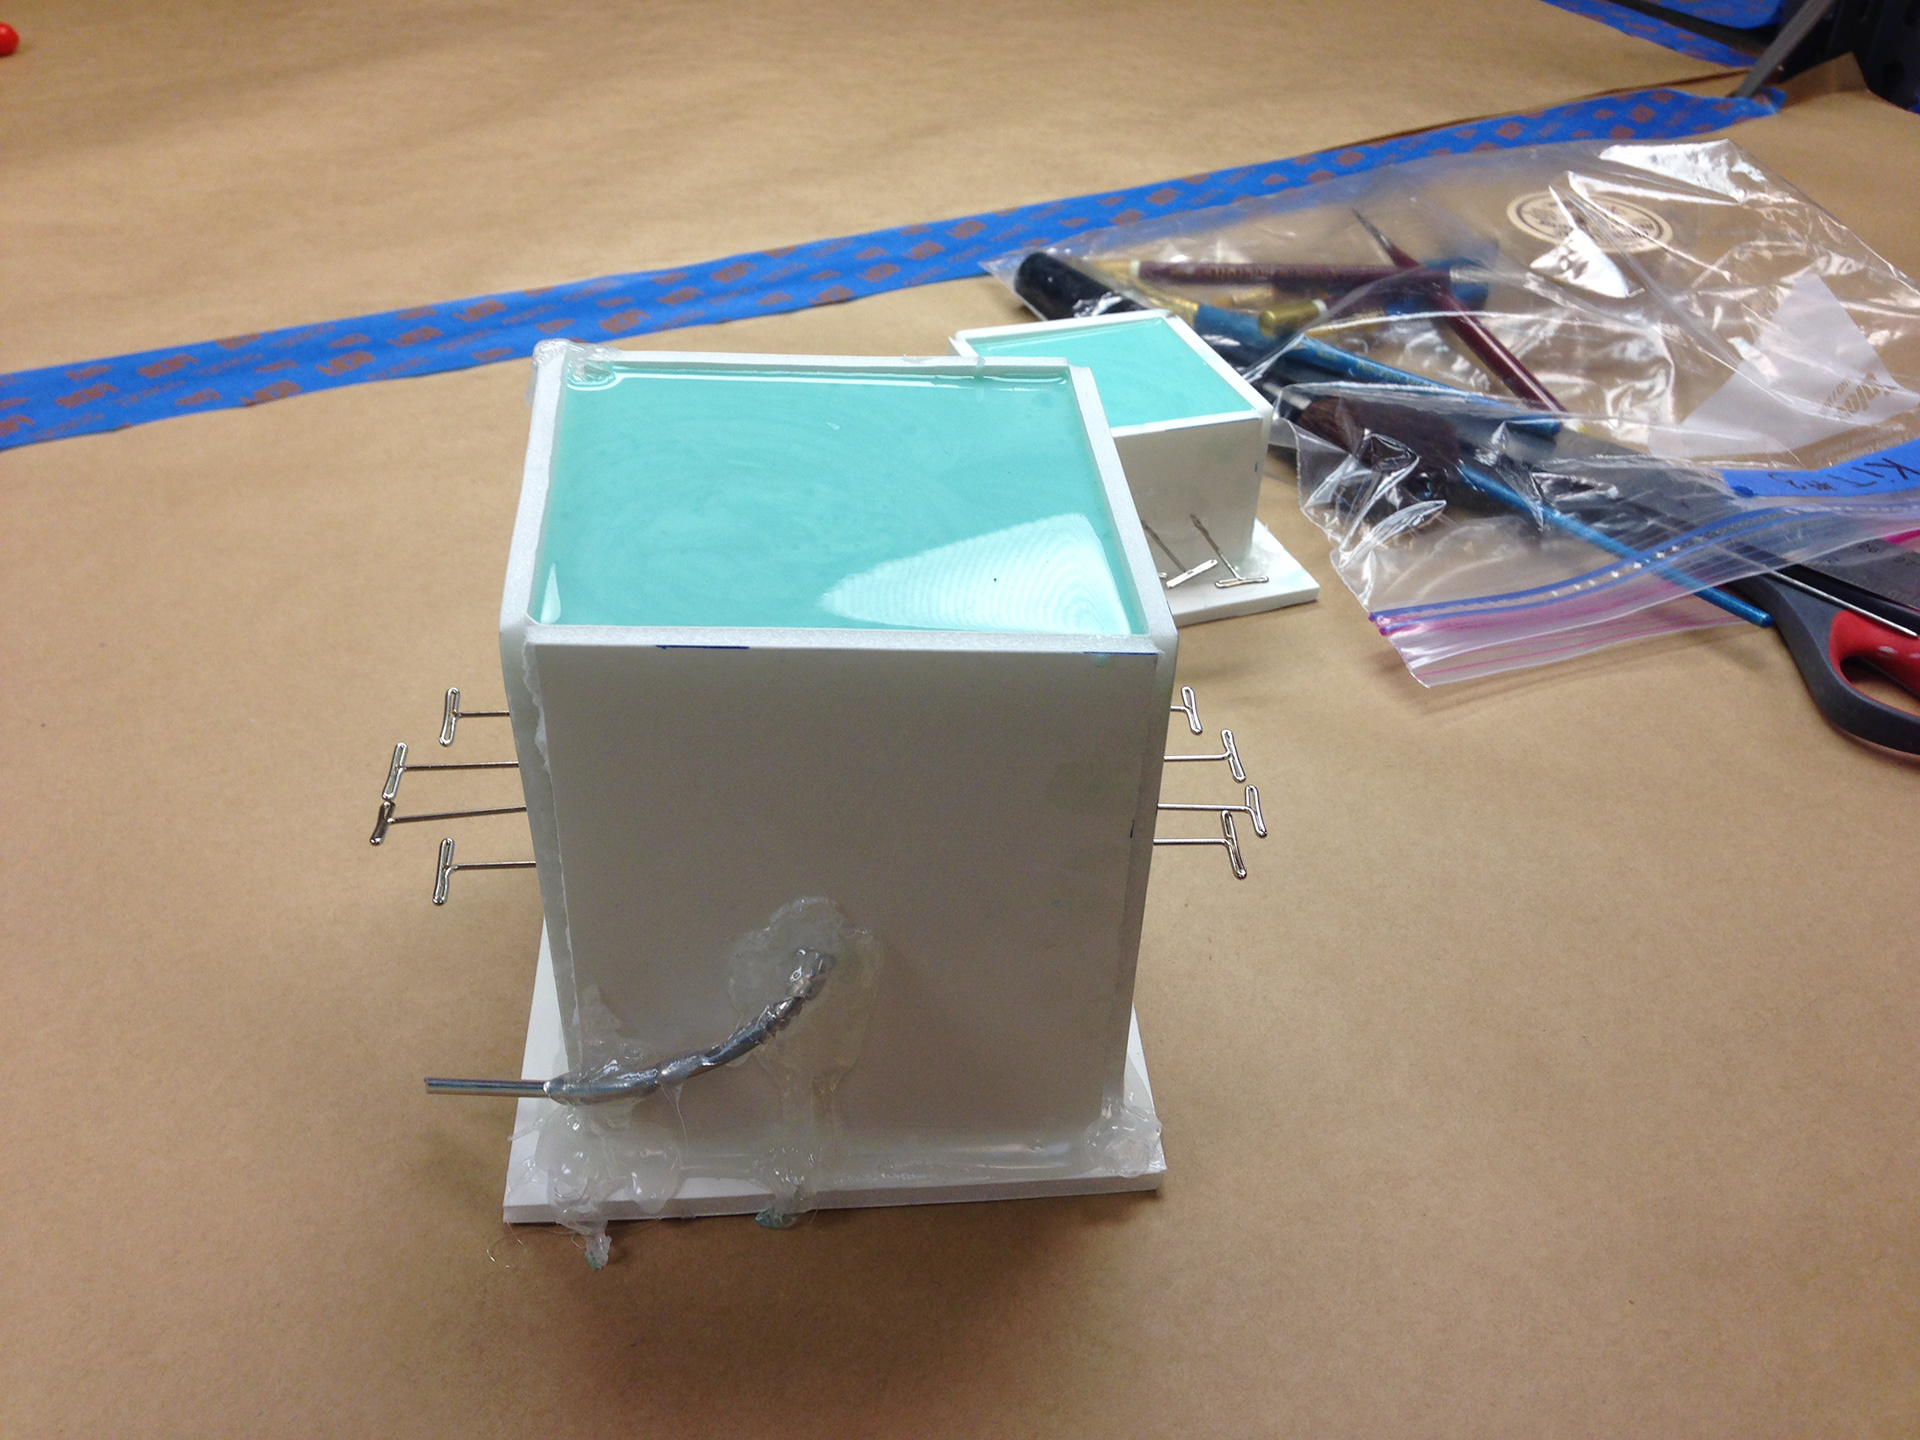
So I did not get a picture of my head sculpt before it went in, but these are the silicone box molds before they are cut open. Just a bunch of foam board cut to size and hot glued together. The silicone we used was Mold Max, a pretty common one for this purpose. The pins you see sticking out of the sides are to mark the position of the sculpt inside. Unfortunately, my sculpt didn’t make it out in one piece (not unusual), but it was done in Chavant NSP.
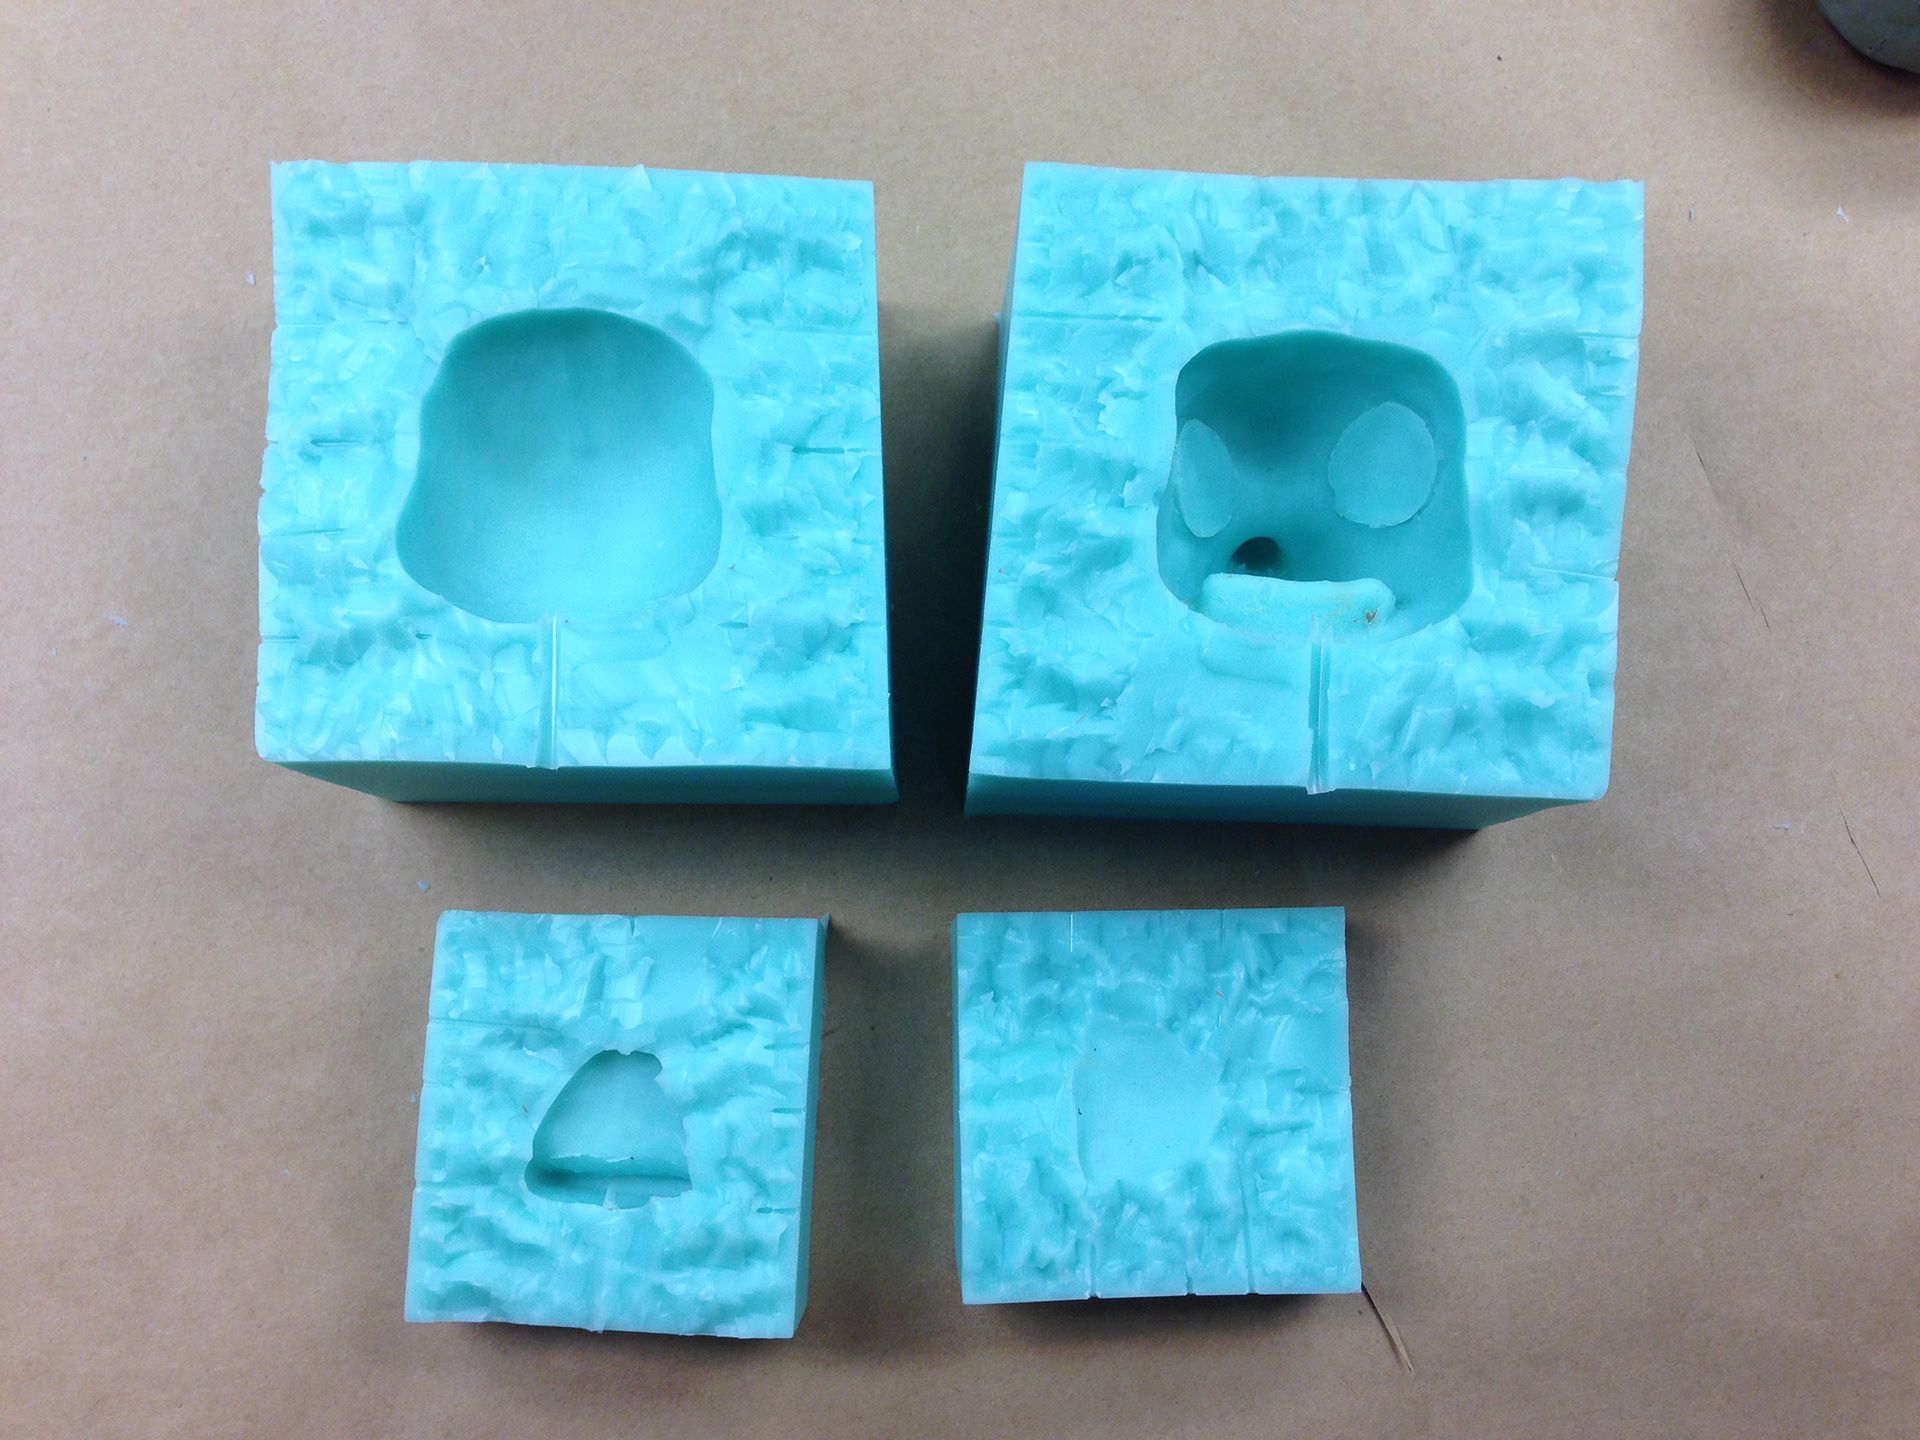
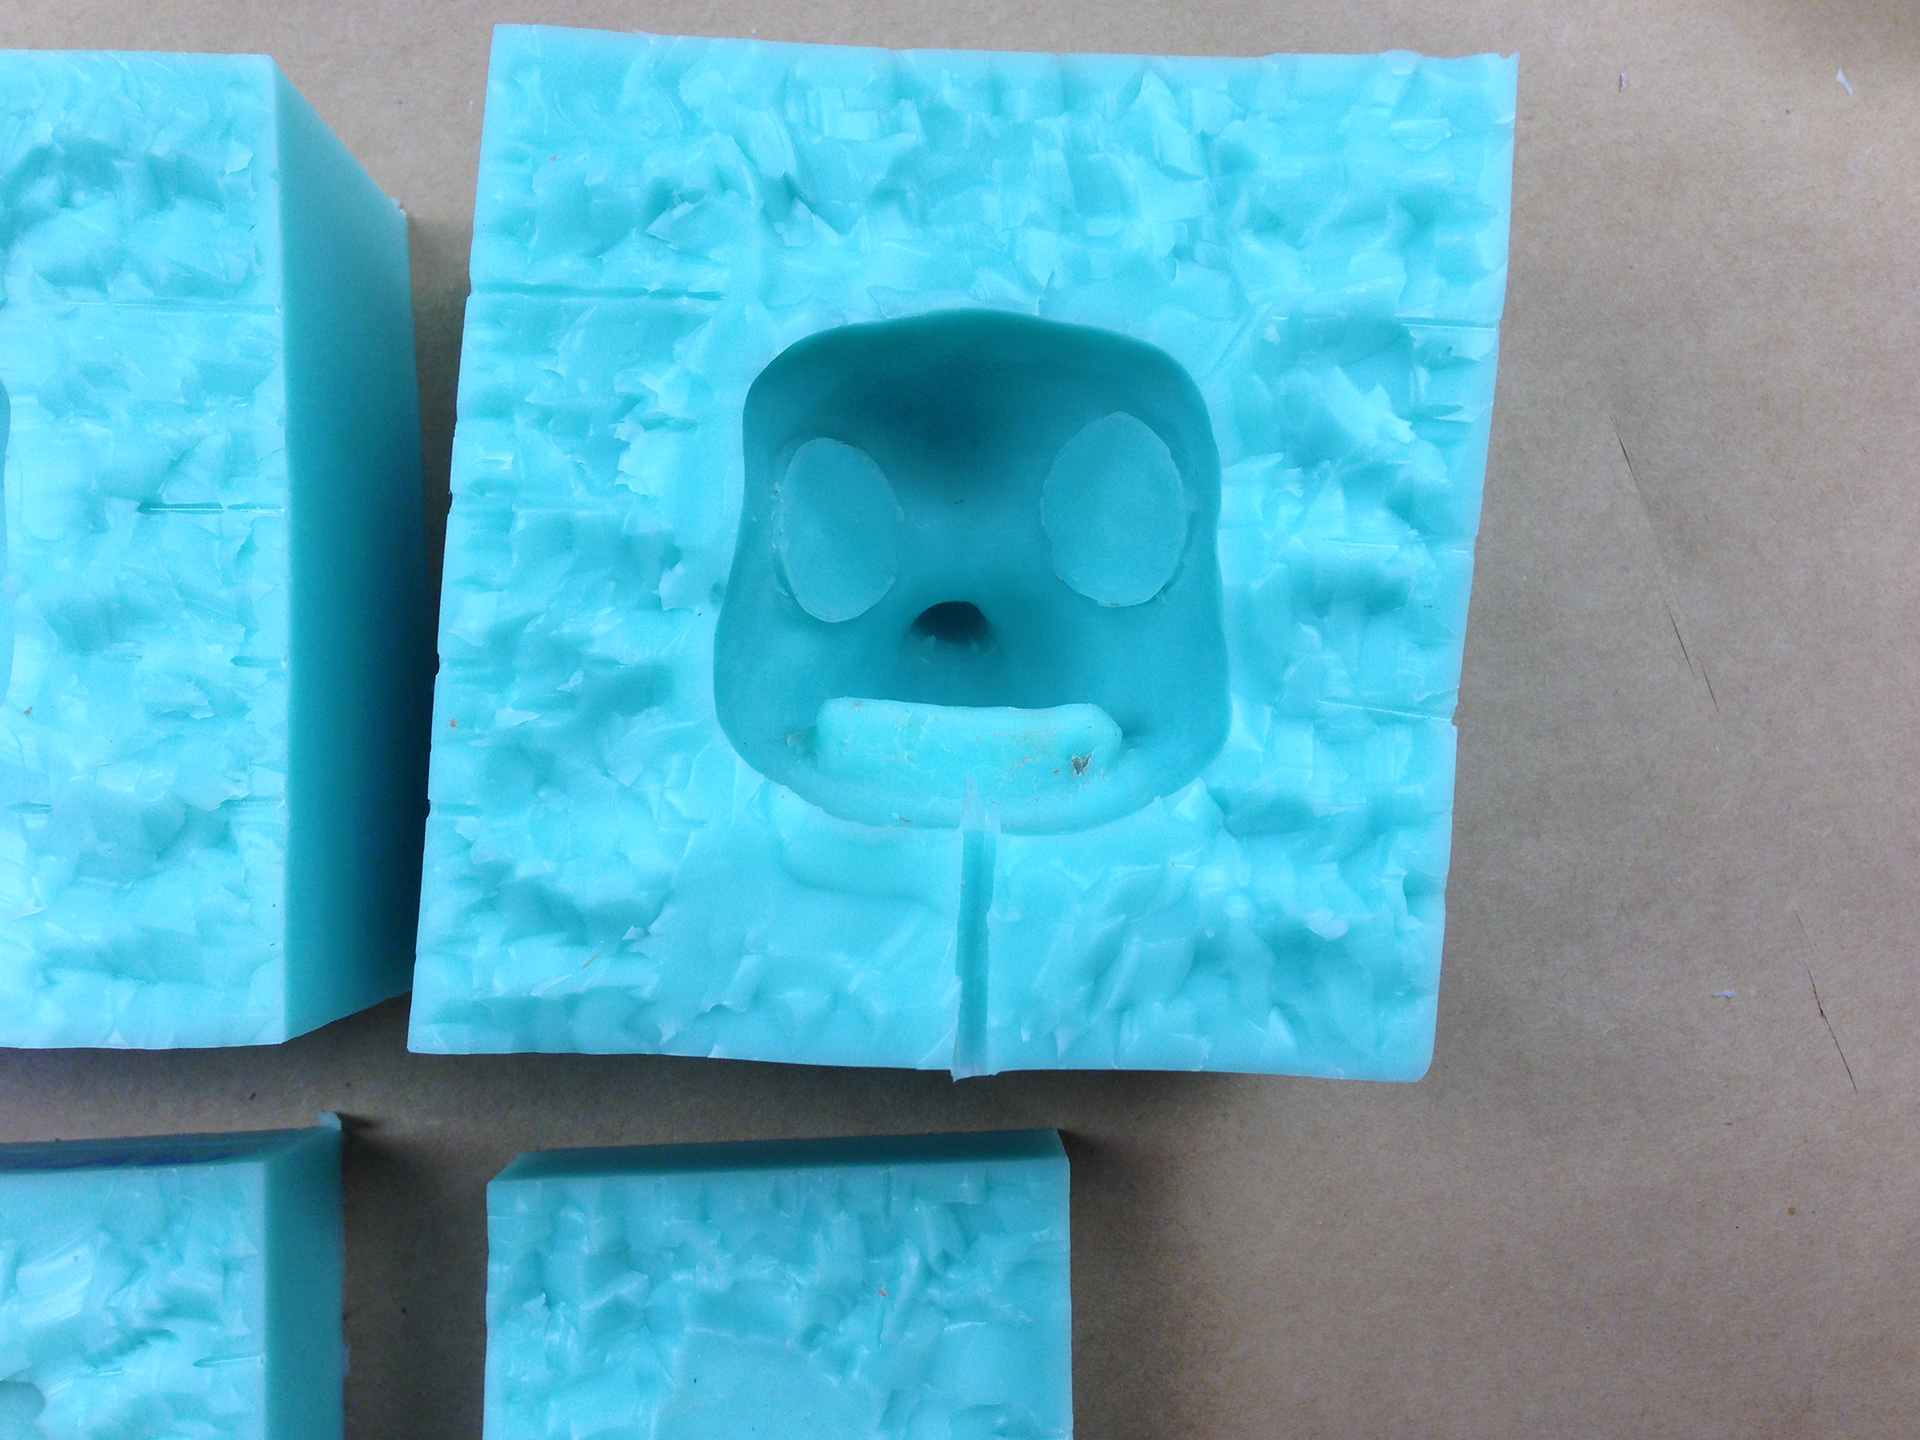
And here are the molds cut open. This involved literally cutting the silicone with a surgical blade slowly in what is known as a “jewel cut” until the sculpt is reached. The jewel cut pattern/texture helps seal and hold the mold together when the head is cast. This was an interesting process, as I’ve never quite attempted it before. An interesting alternative to the two-part molds I used for “Grandpa”. Of course the silicone molds are a “soft” mold, which is more suitable for our heads, which are going to be cast in hard plastic. In my case, the Caterpillar will have what is known as a “flappy jaw”, which means she will have a hinged jaw that can be animated. That is why there are two molds here instead of just one, as the jaw naturally needs to be cast separately.
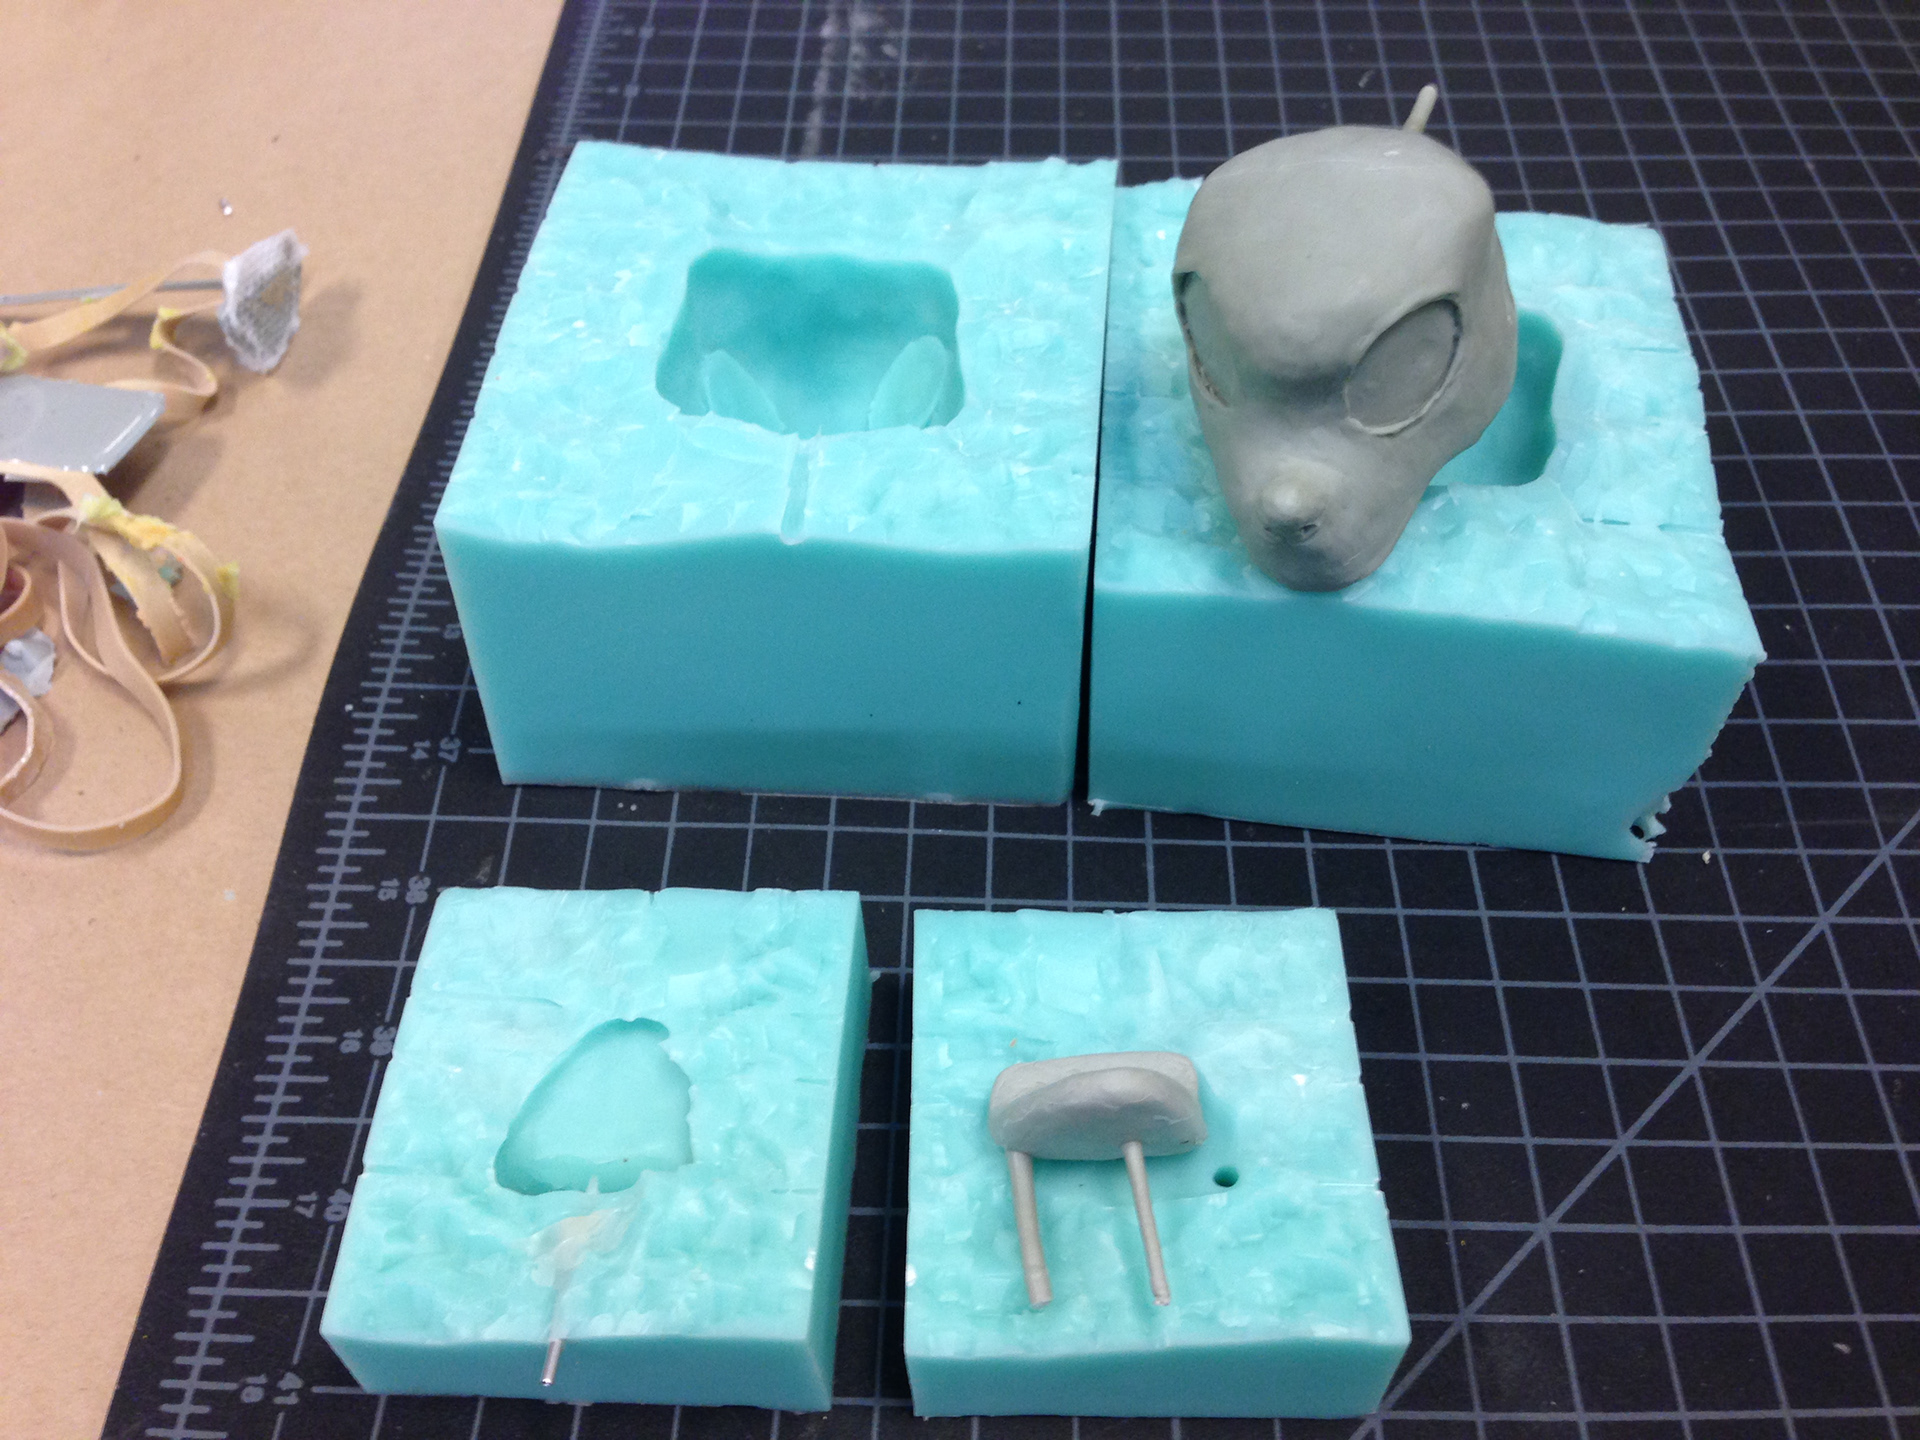
Here are the casts de-molded. The jewel cut is a little hard to see, but it's basically a zigzag pattern cut into the silicone. The castings now need to be cleaned, sanded, and primed with the flashing removed (those little pegs you see).
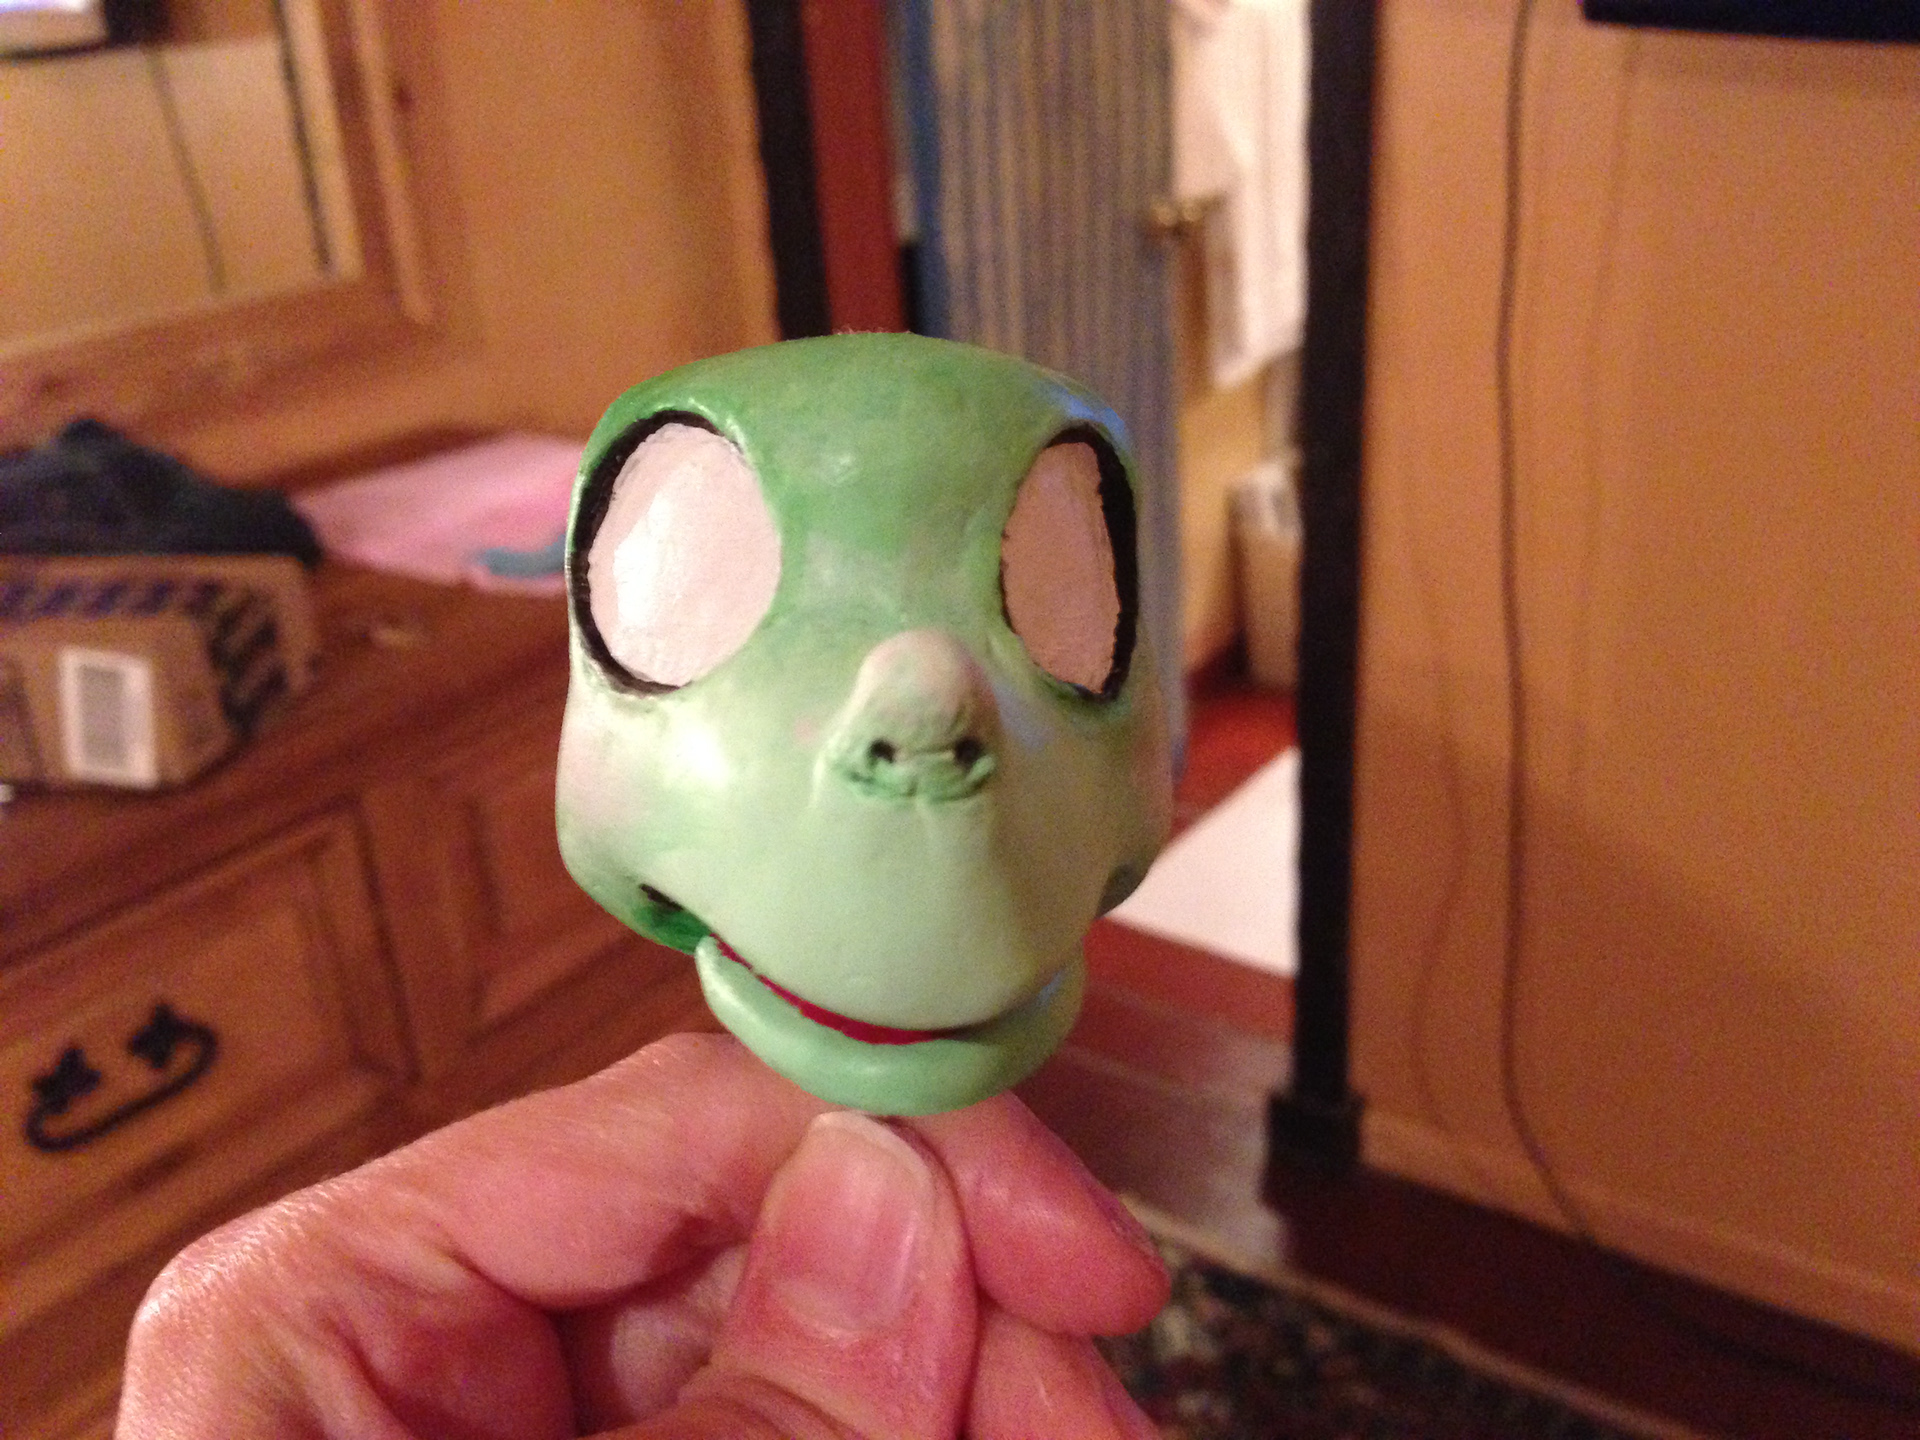

Once that's done, I painted the head and jaw and attached them. The flappy jaw is imbedded in the head with a pair of lashed wires attached with Cold Weld. If it breaks, it will be fairly simple to fix. The eyes are going to have "floating" pupils (flat discs attached with sticky wax). The whites look creepy though, I know.
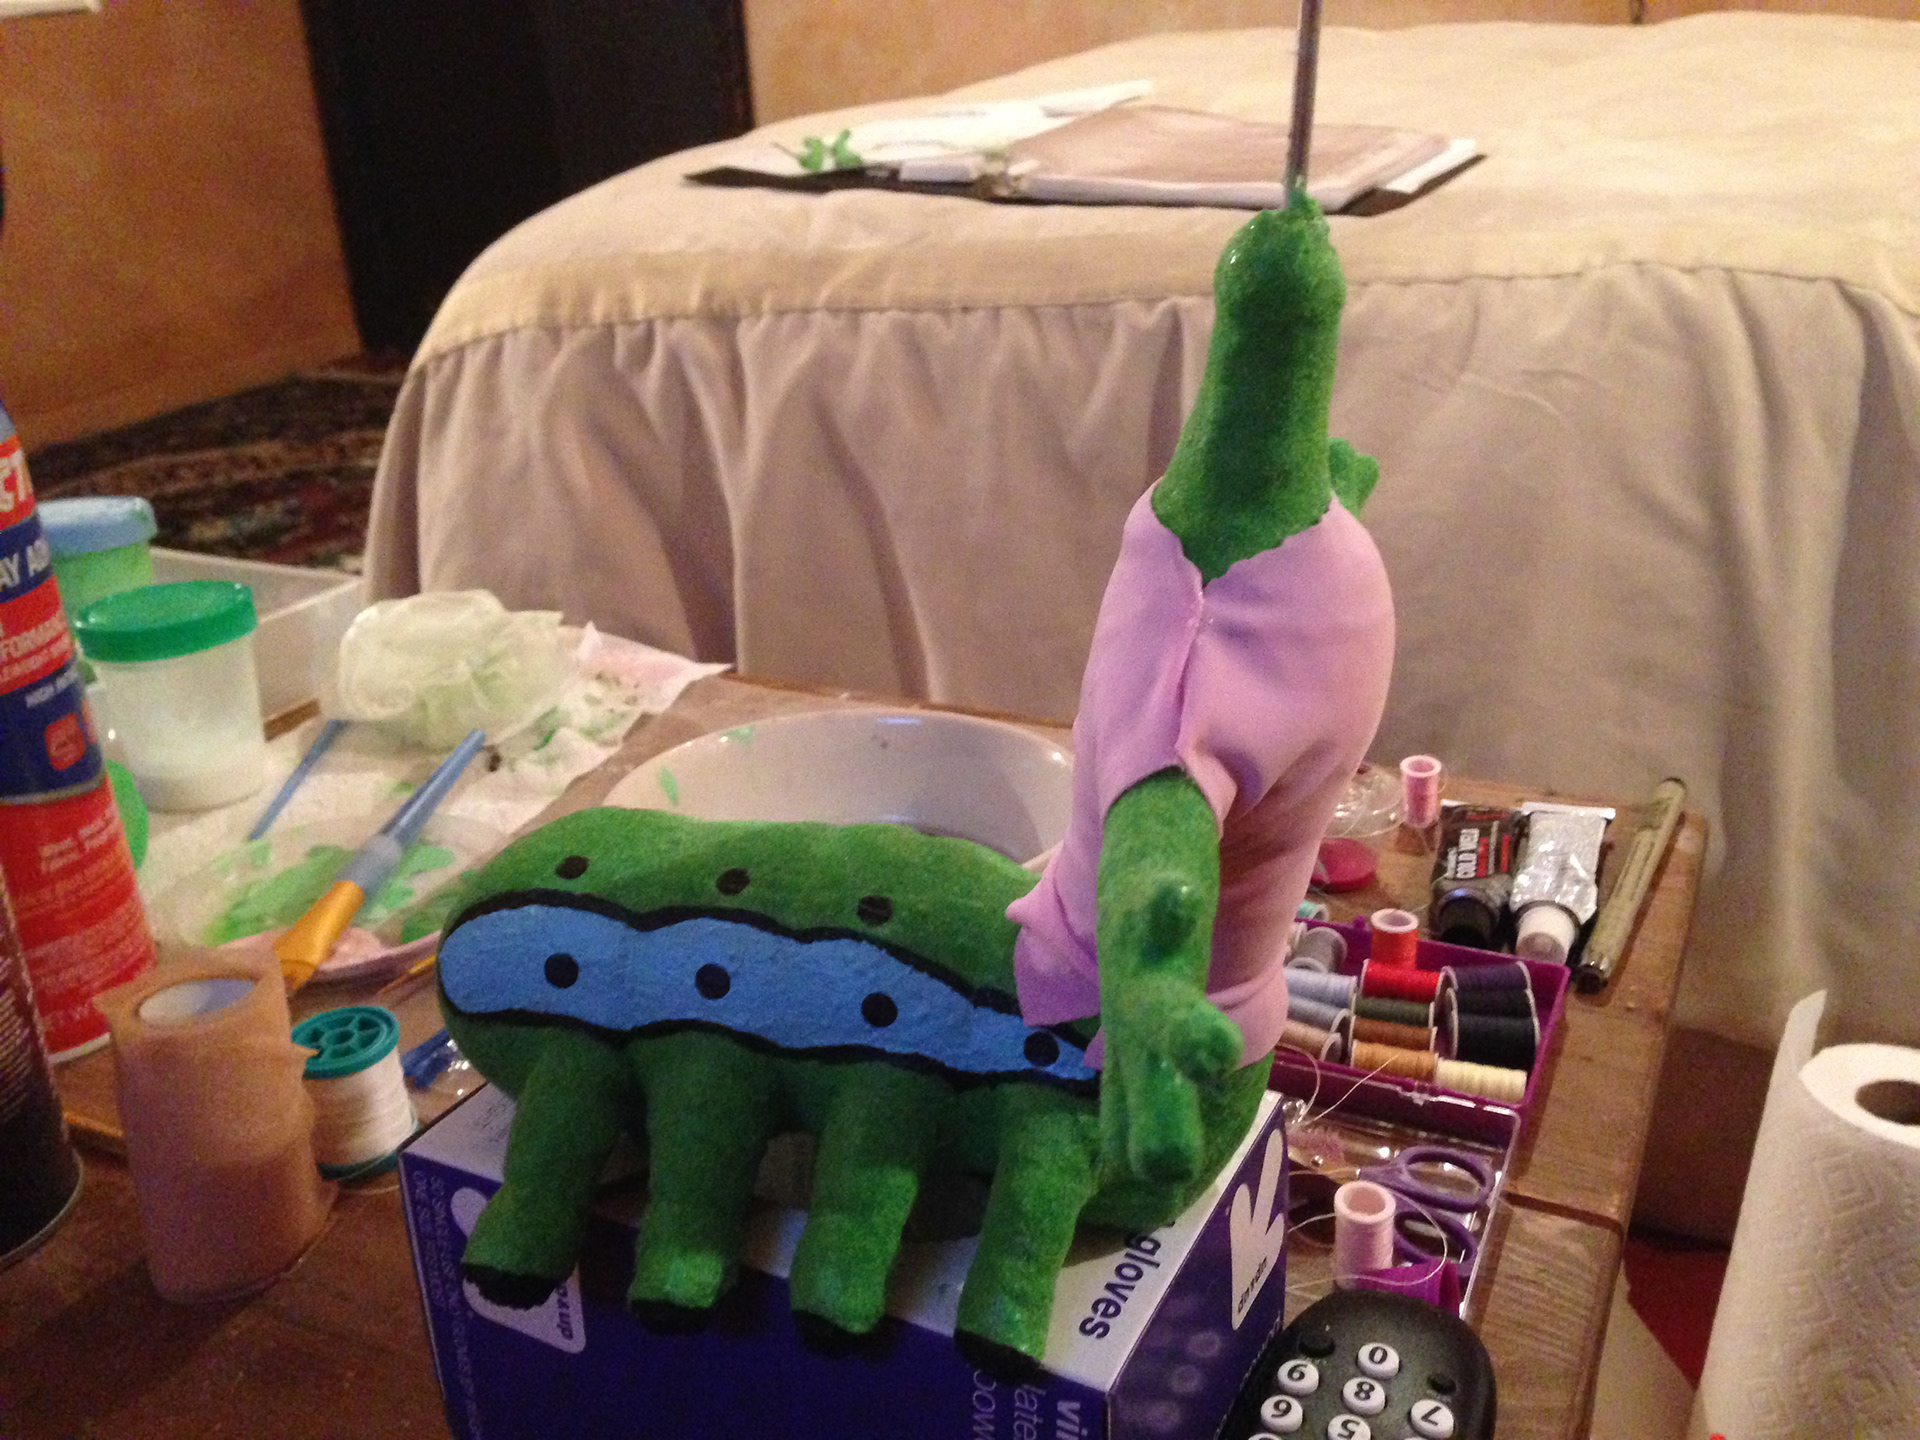
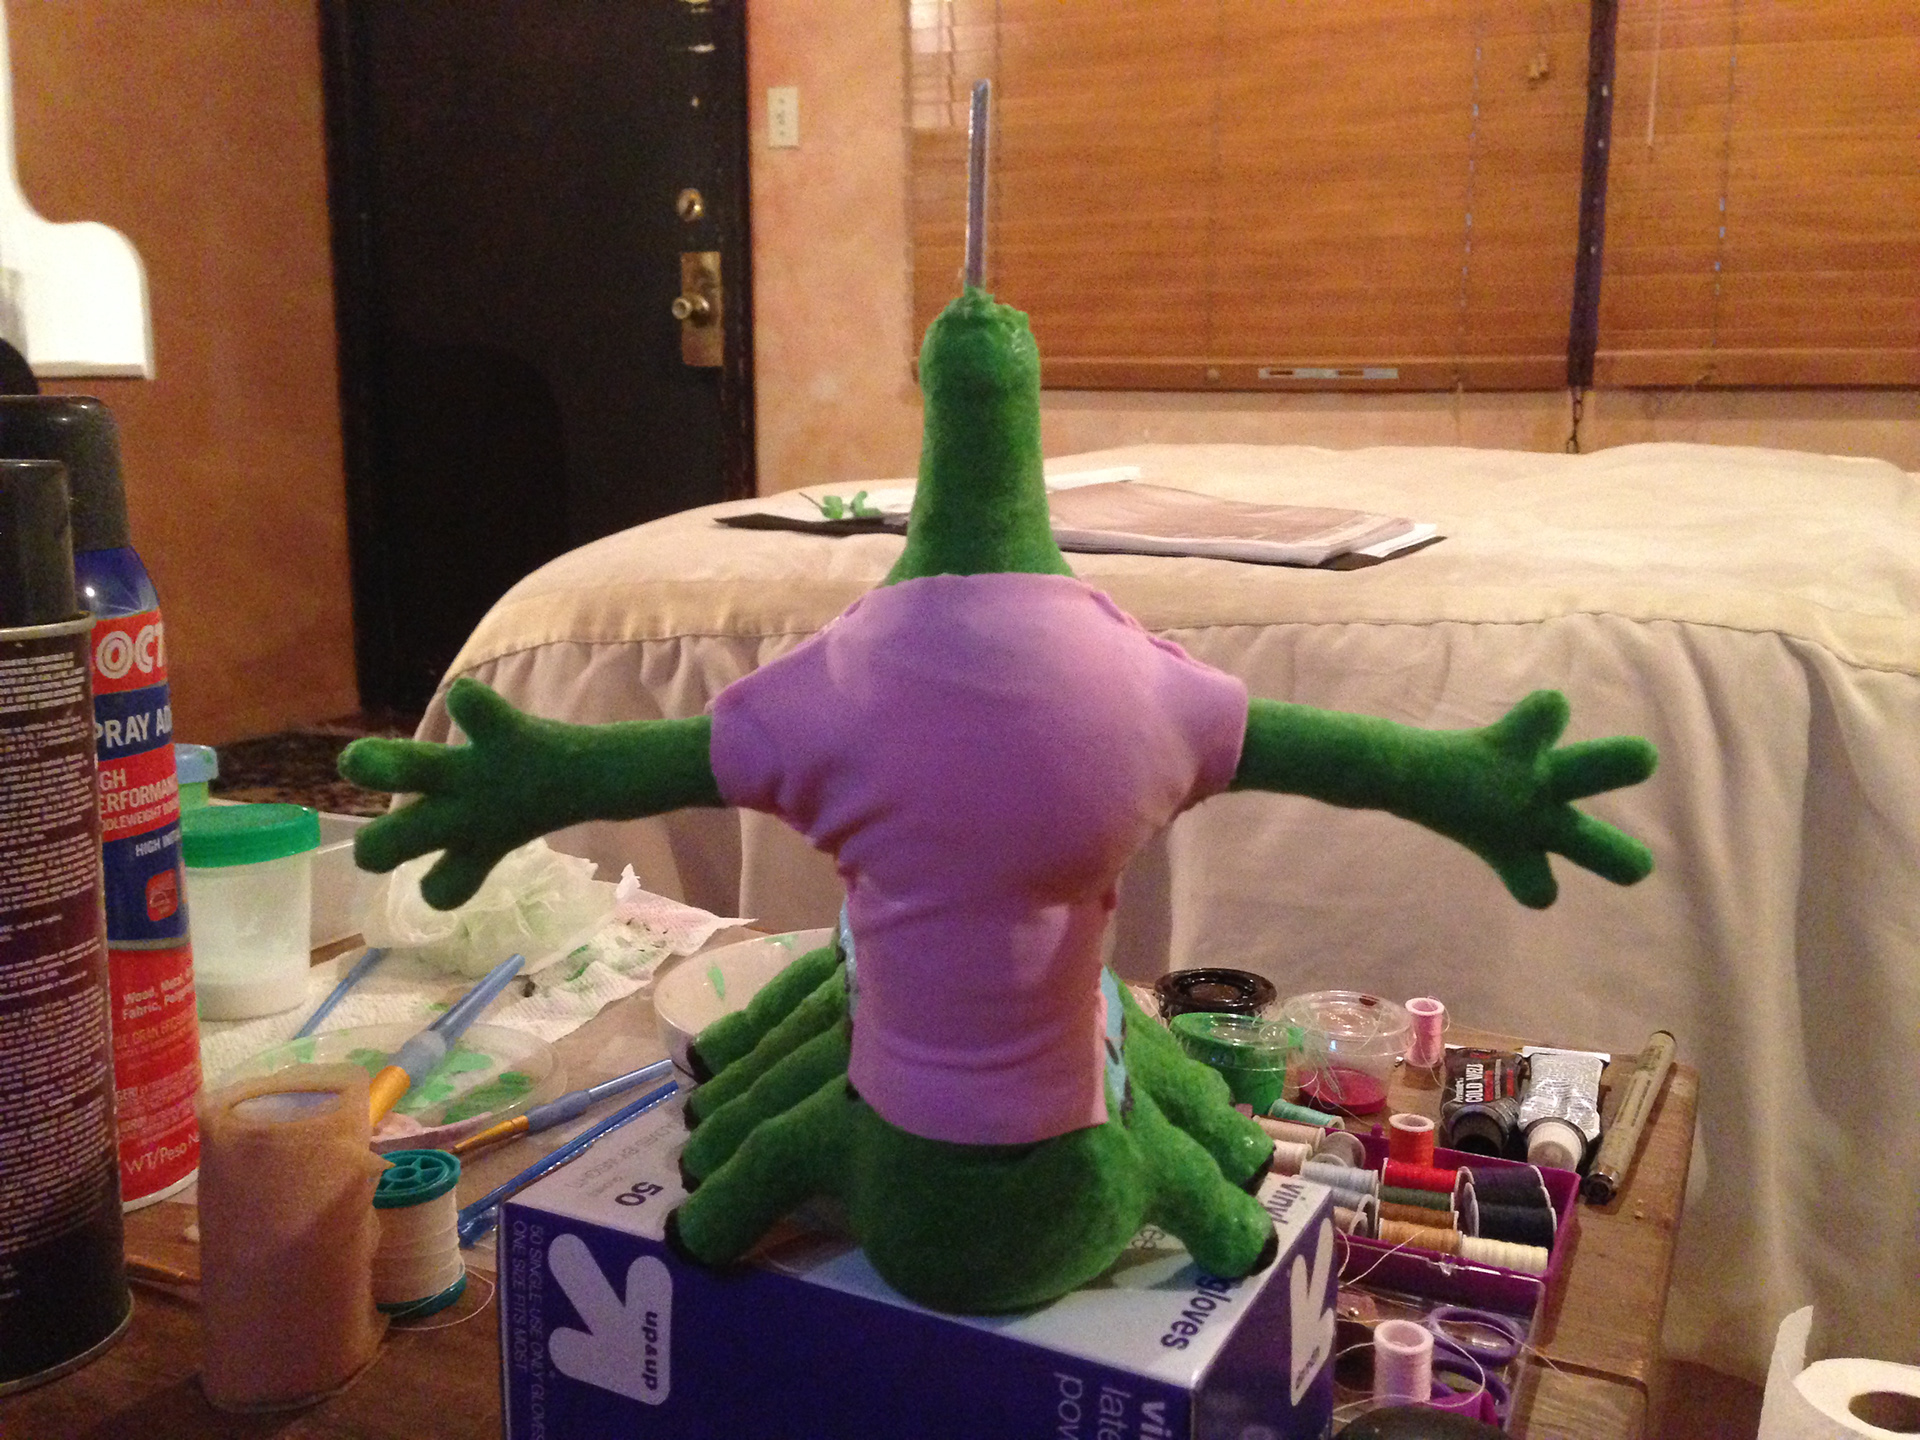
So this is skipping ahead a little as I didn't have time to take pics of the bare foam body buildup, but here is her body after it was covered with colored latex and painted. The liquid latex was laid over the foam in layers on top of a covering of foam tape.

And here she is with more costuming details. The body has also been flocked at this point to give her more of a "fuzzy caterpillar" look. You will also notice the head off to the right side. Her antennae (wires with foam and latex built up like the rest of the body) have been attached, along with her funny "mohawk" of yarn hair, which is stiffened and attached to dense foam.
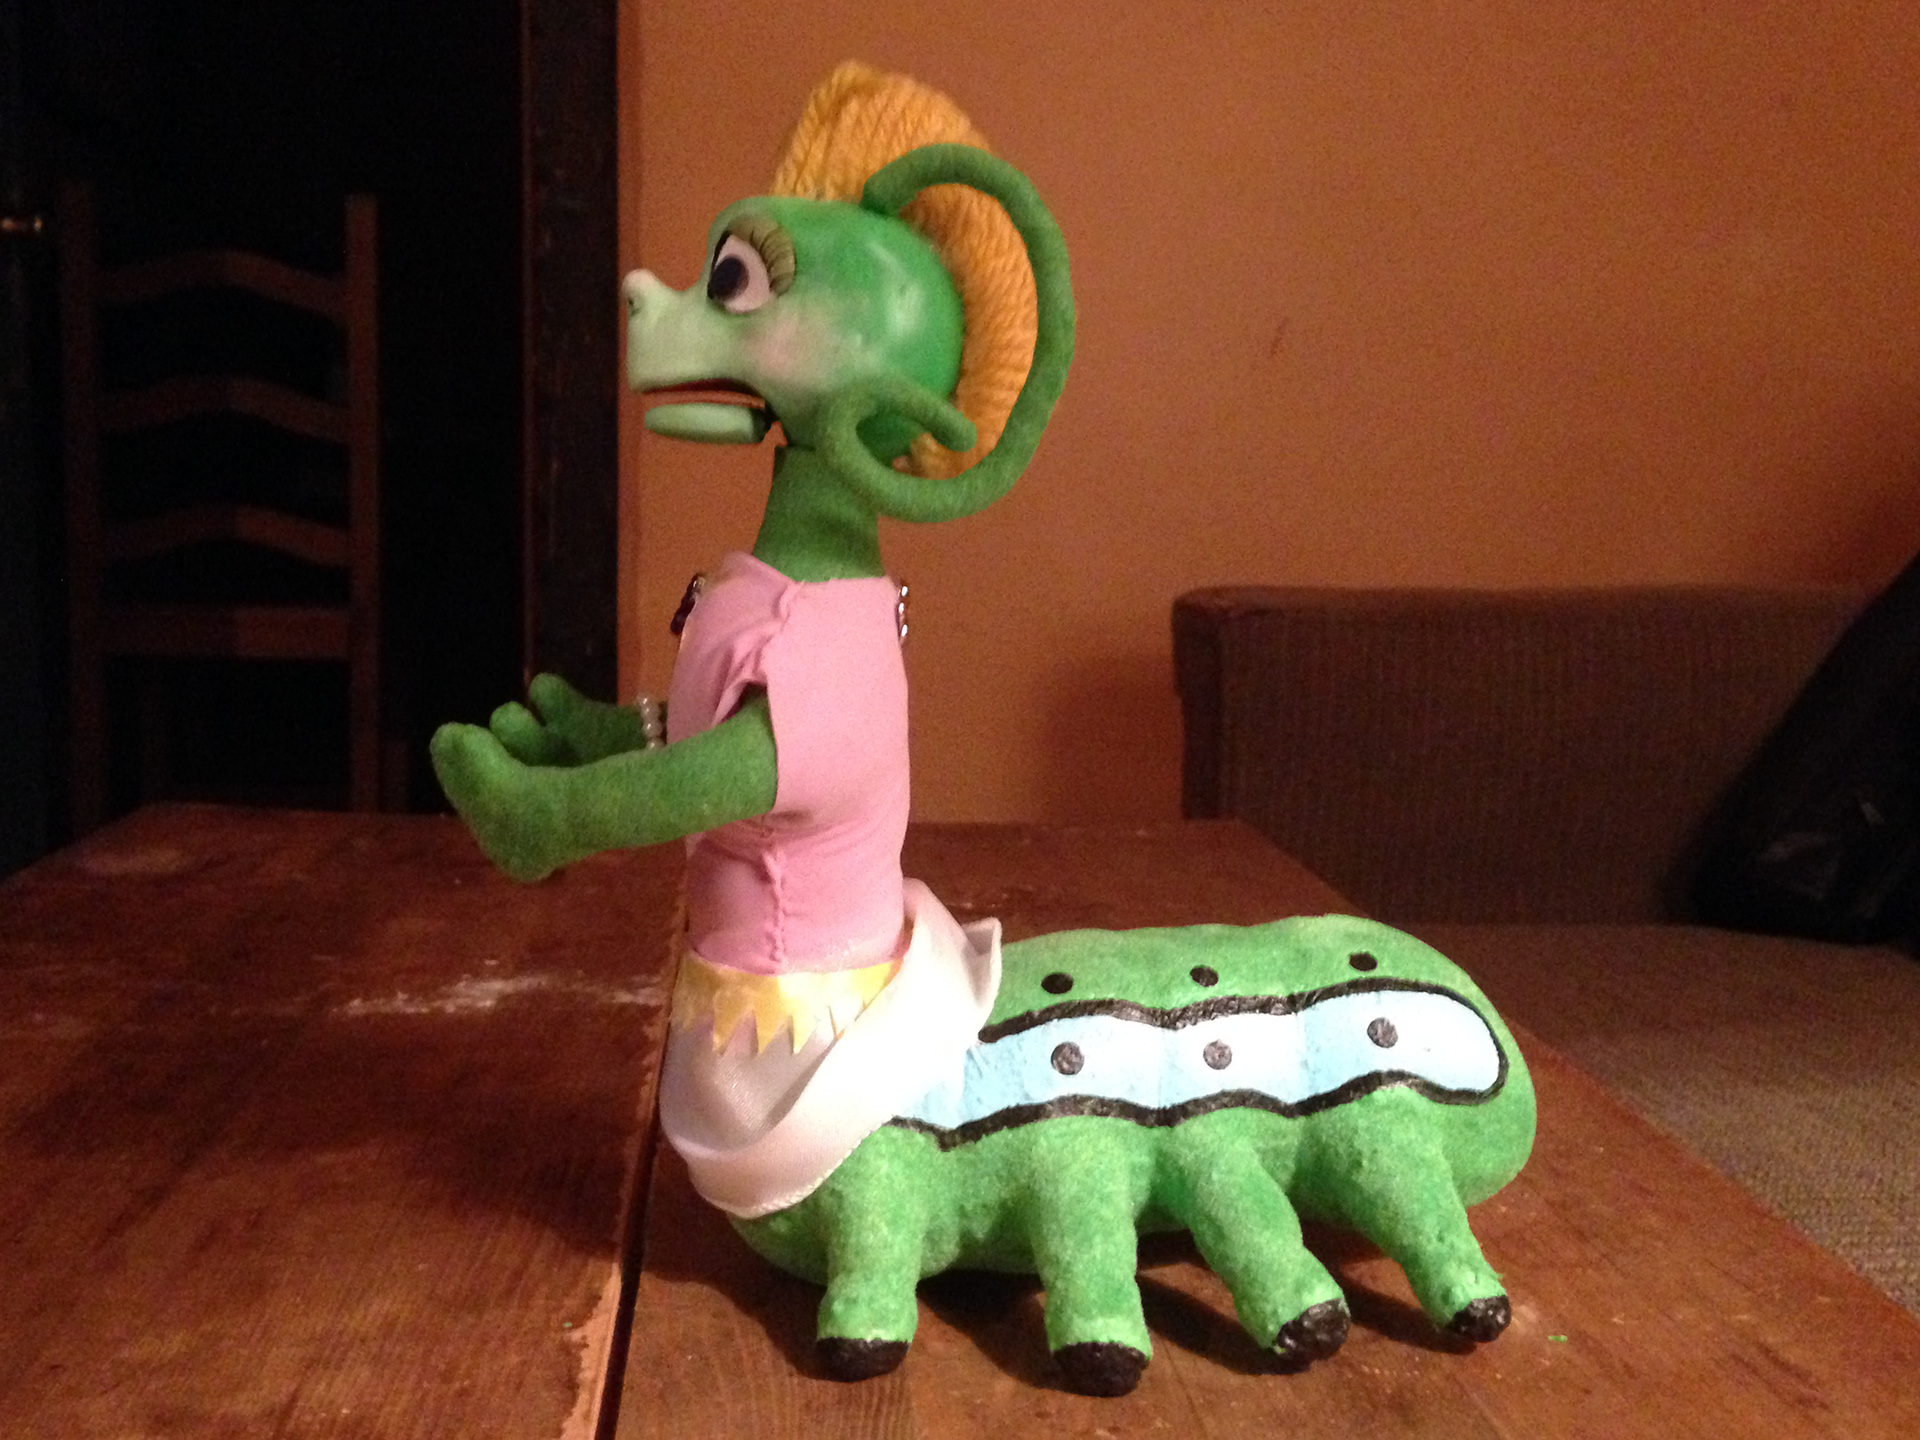
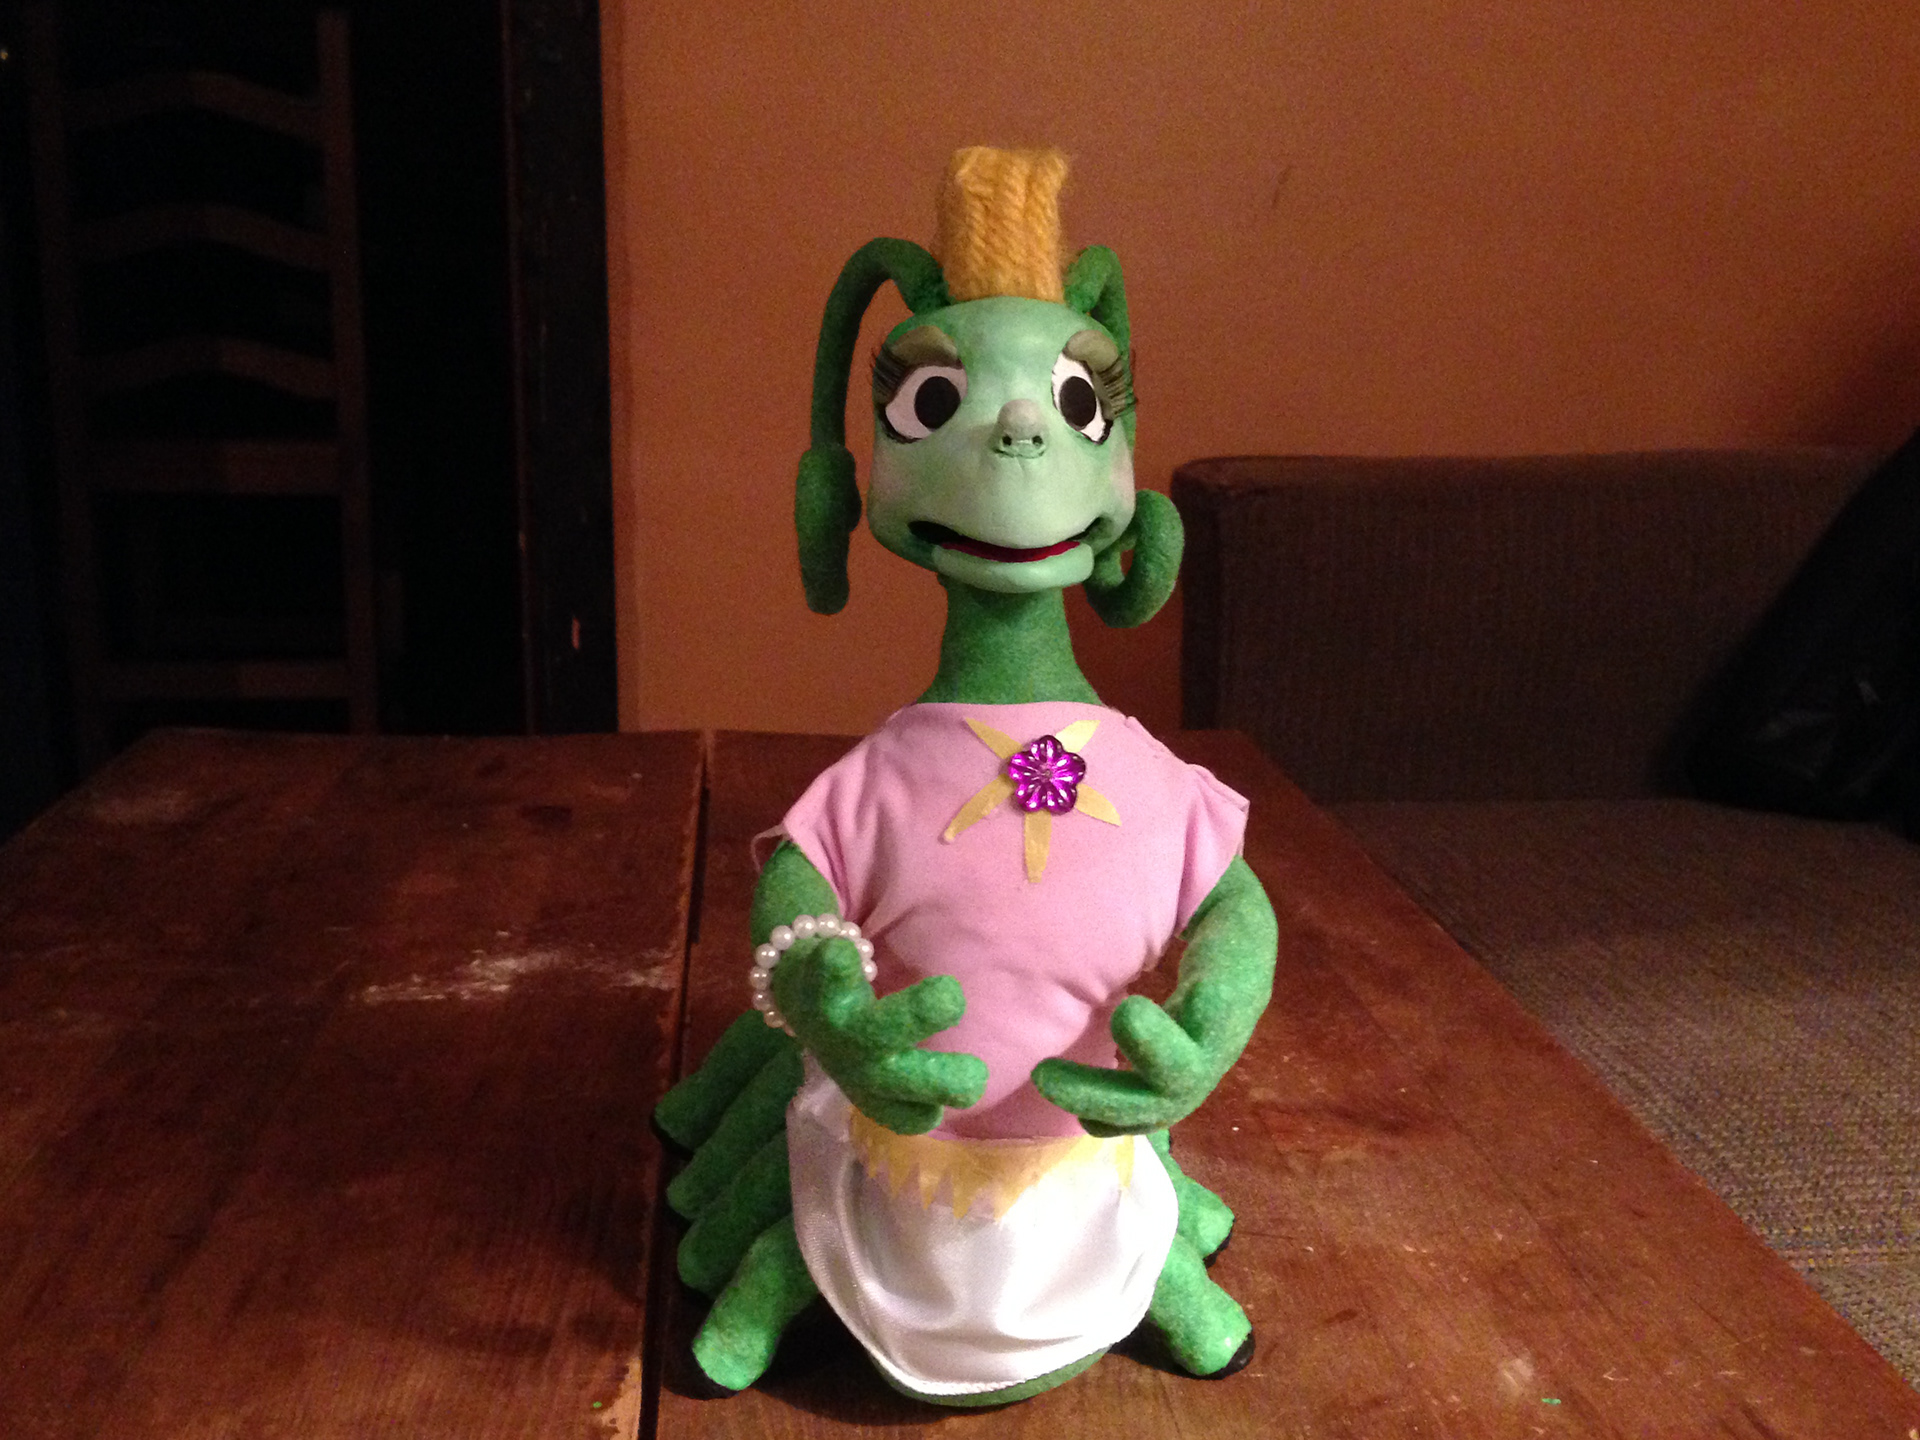
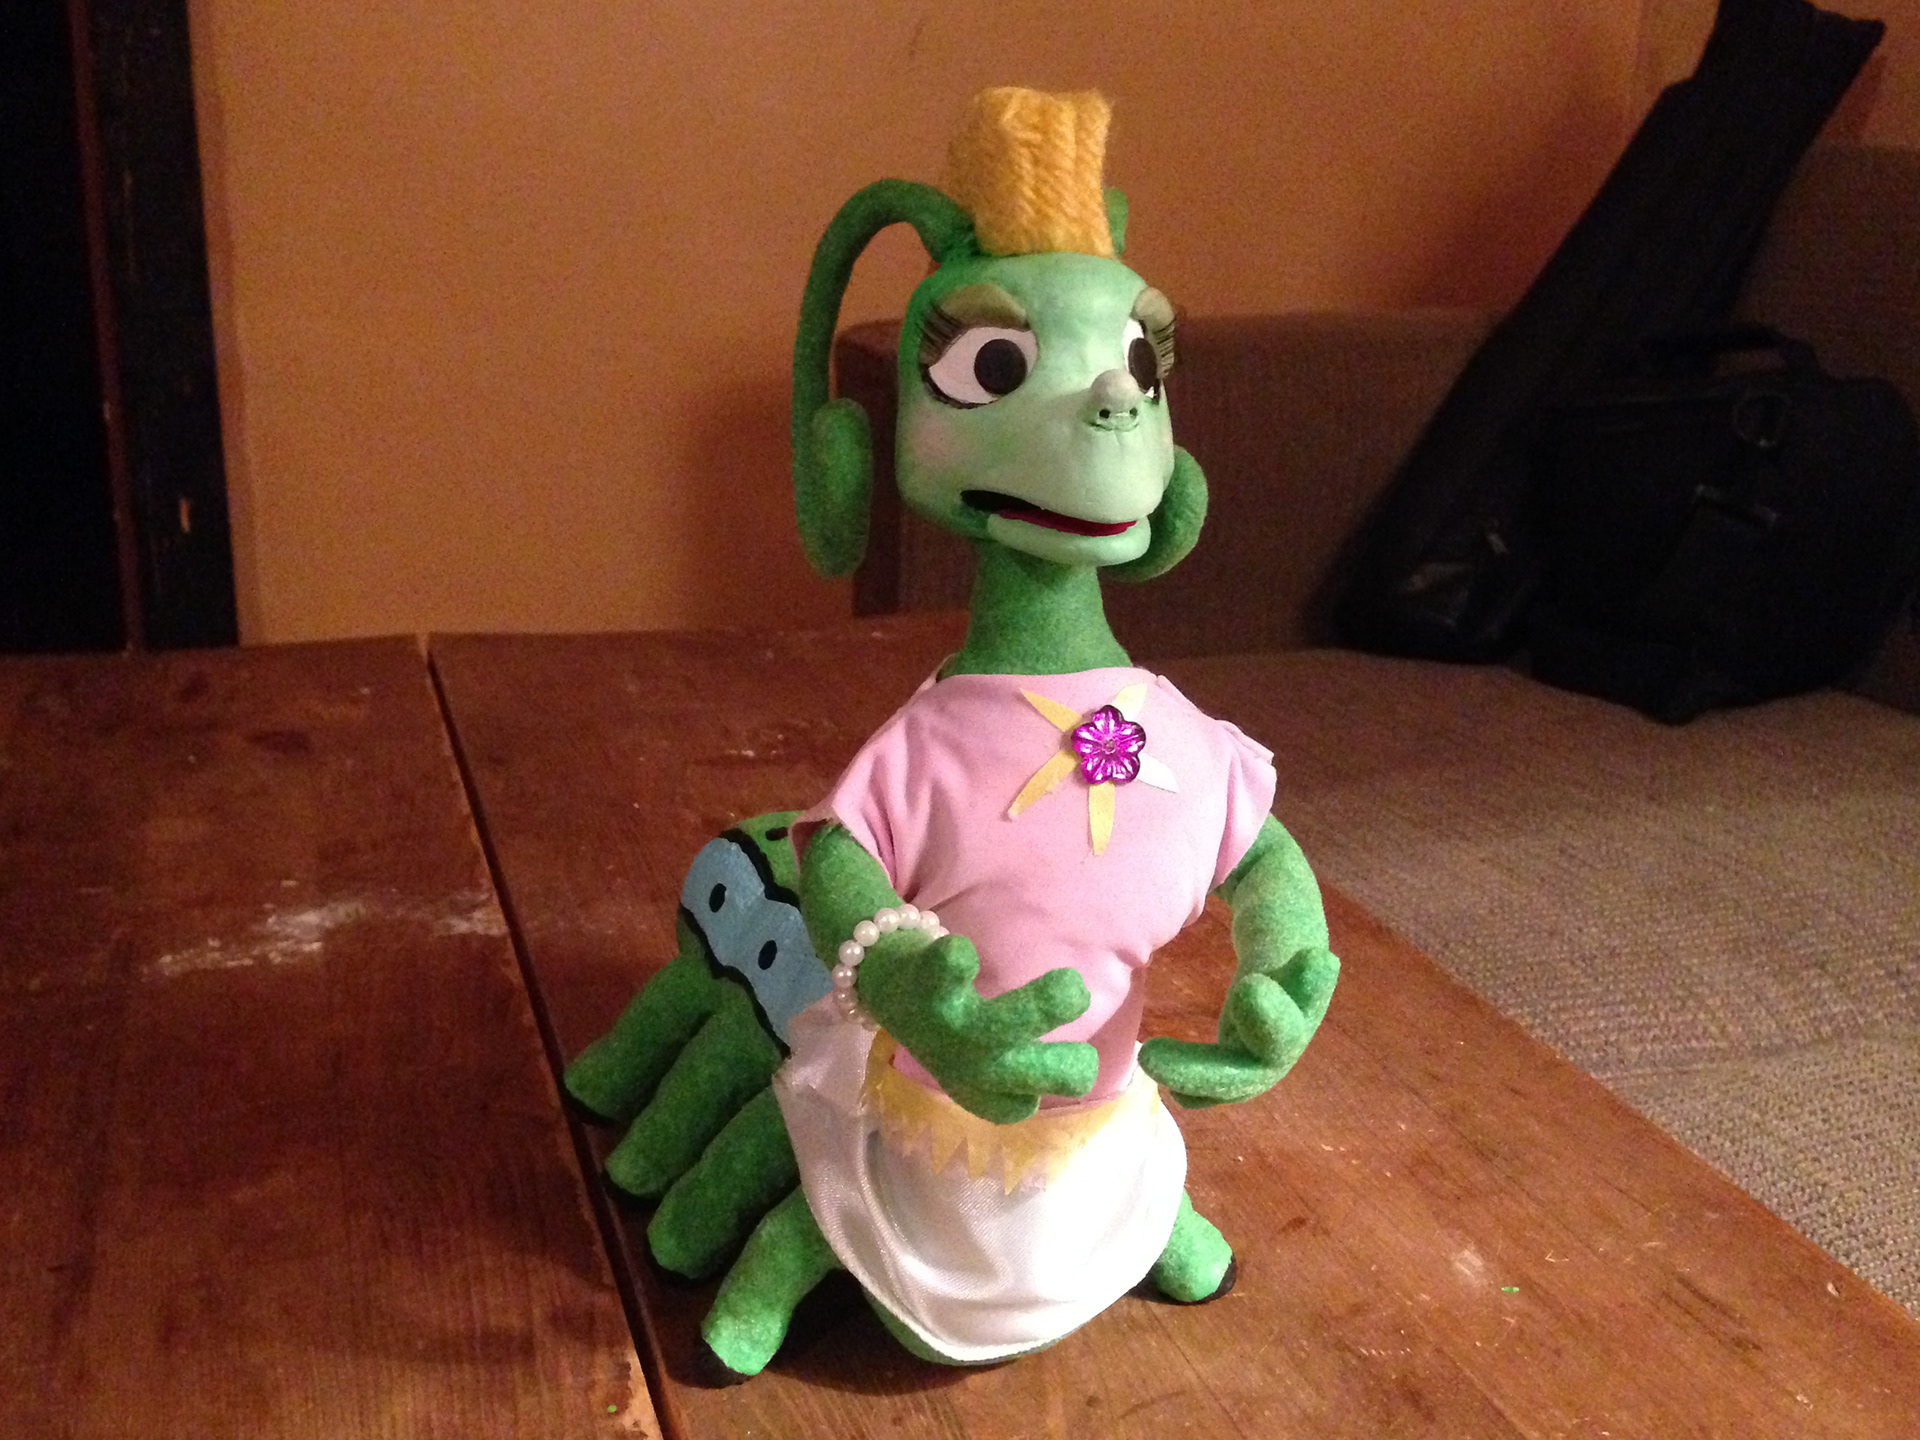
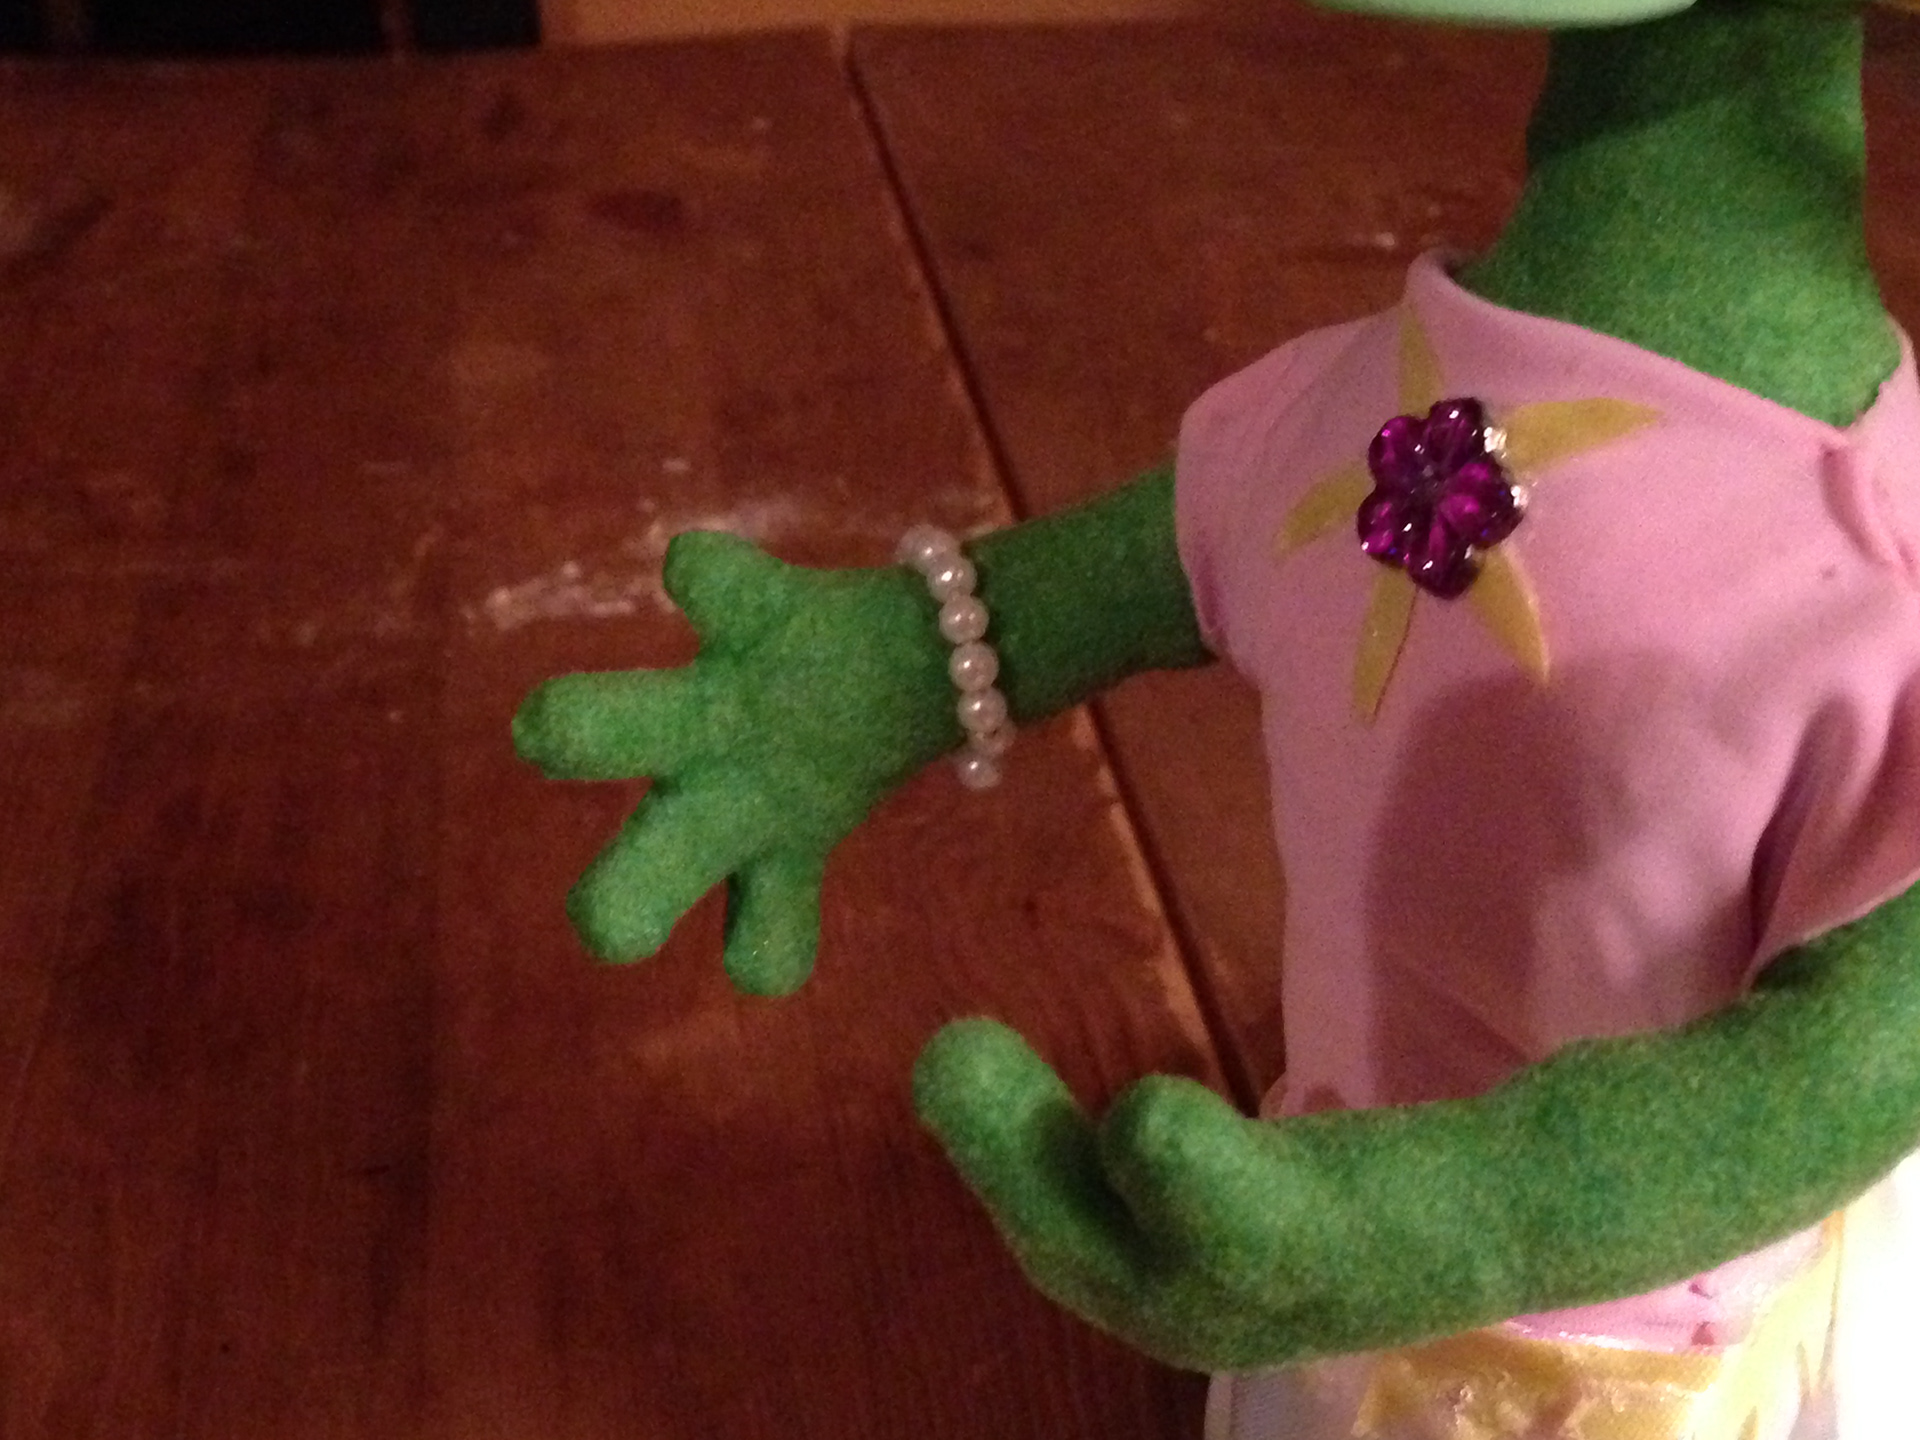
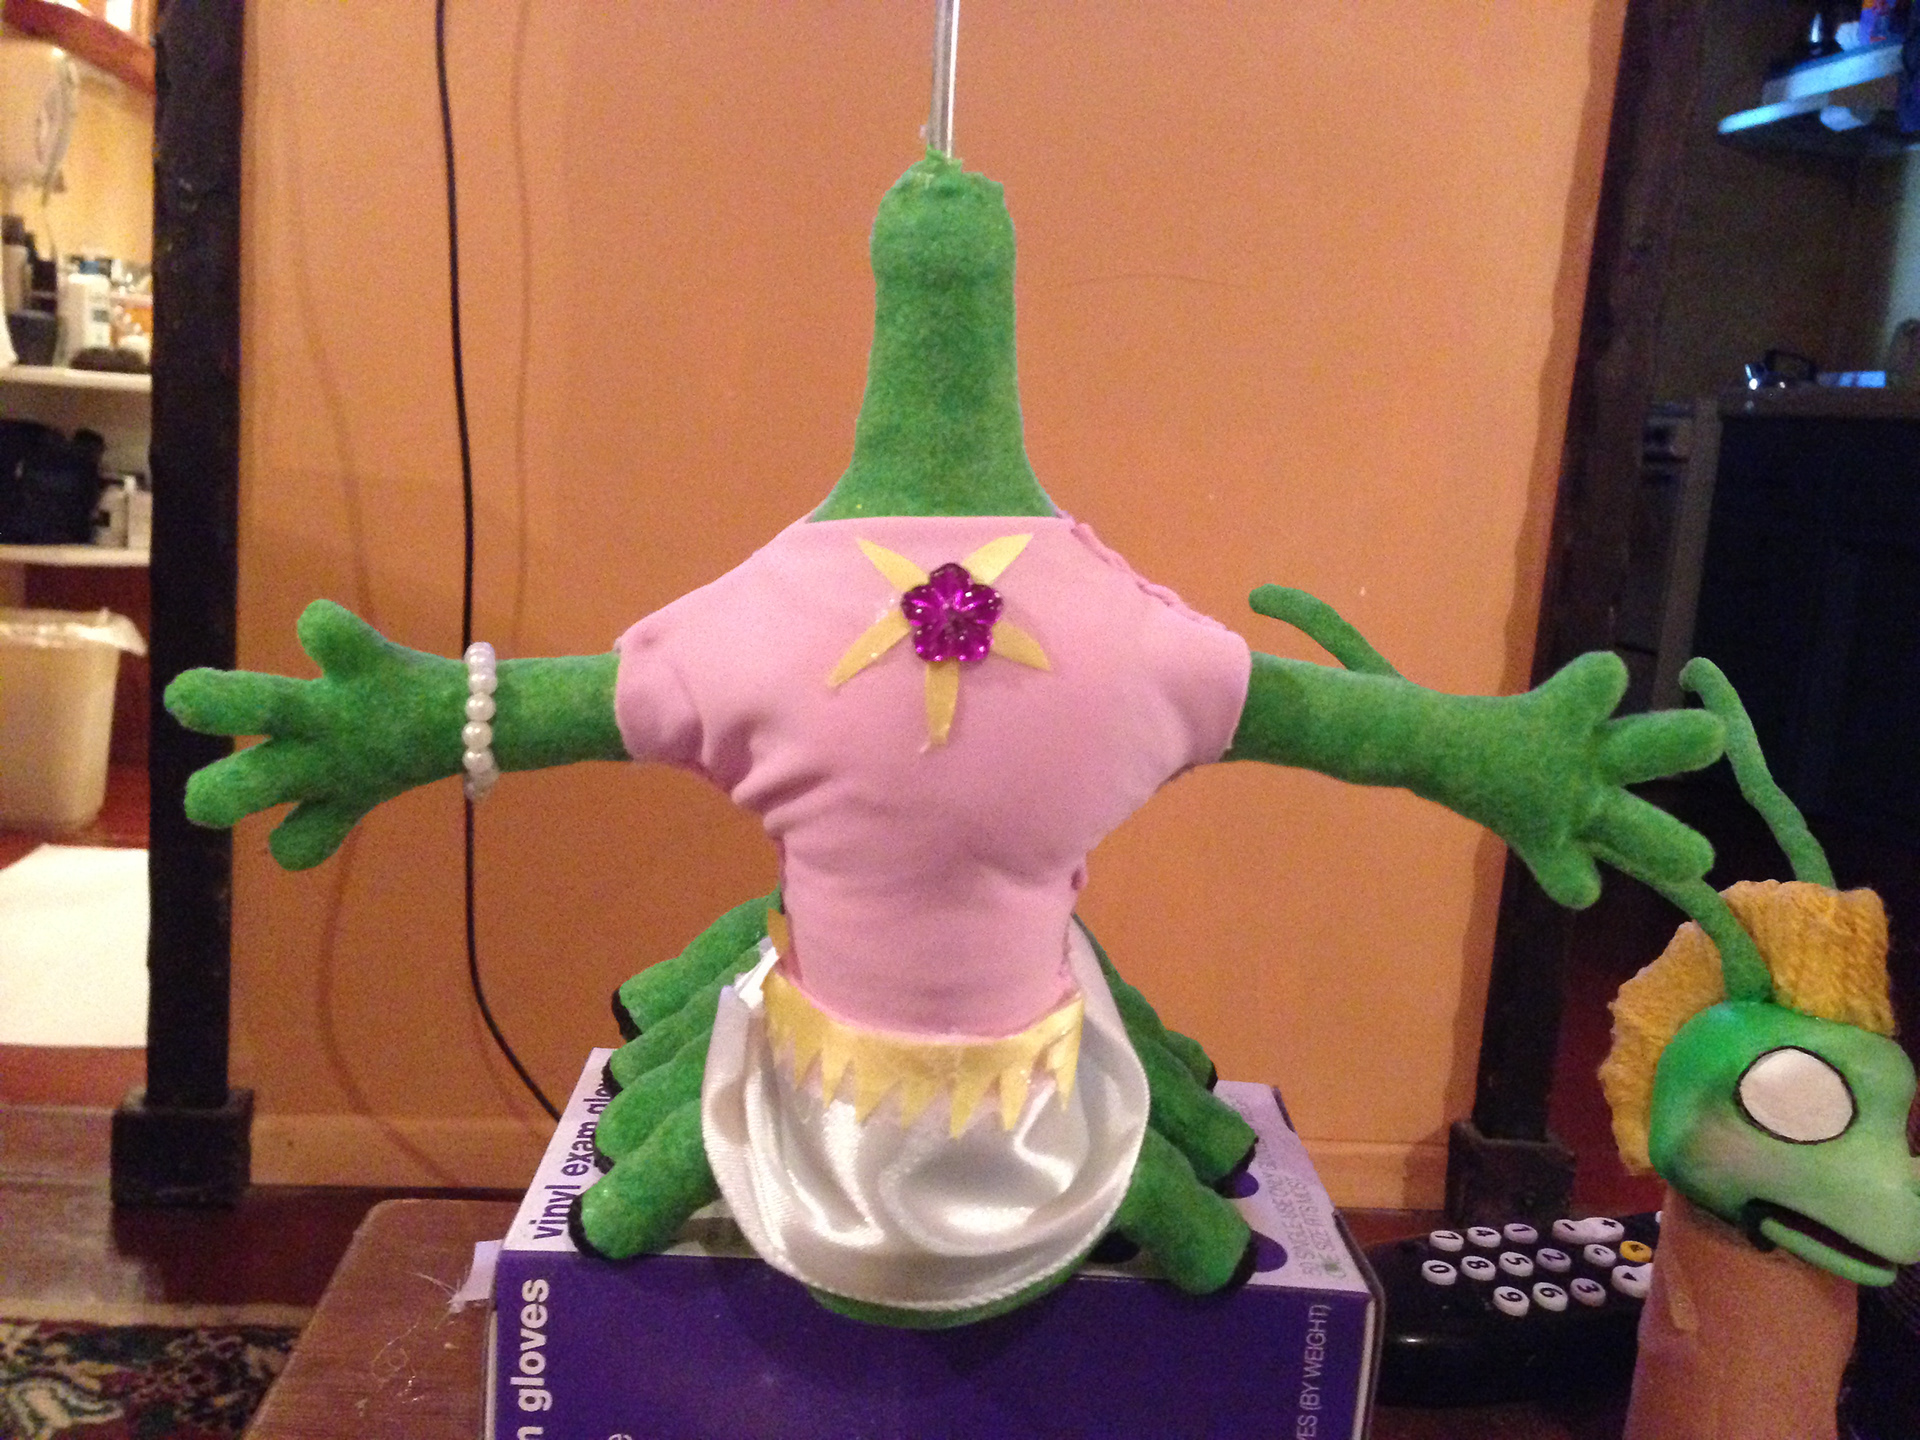
All that was left was to put it all together, so there ya go! I really enjoy the "Muppety" look of her. I could hide the sides of the jaw with some foam tape and latex, but I am rather fond of the obvious hinge. I think it adds to the charm. She WILL, however, be getting some hard-cast eyelids with the eyelashes to make them animatable. Right now there is just colored sticky wax there with the lashes stuck to it as a placeholder. Also, her dress needs more work. Admittedly my sewing skills could use some pointers, but I can make it look better with a little more time.
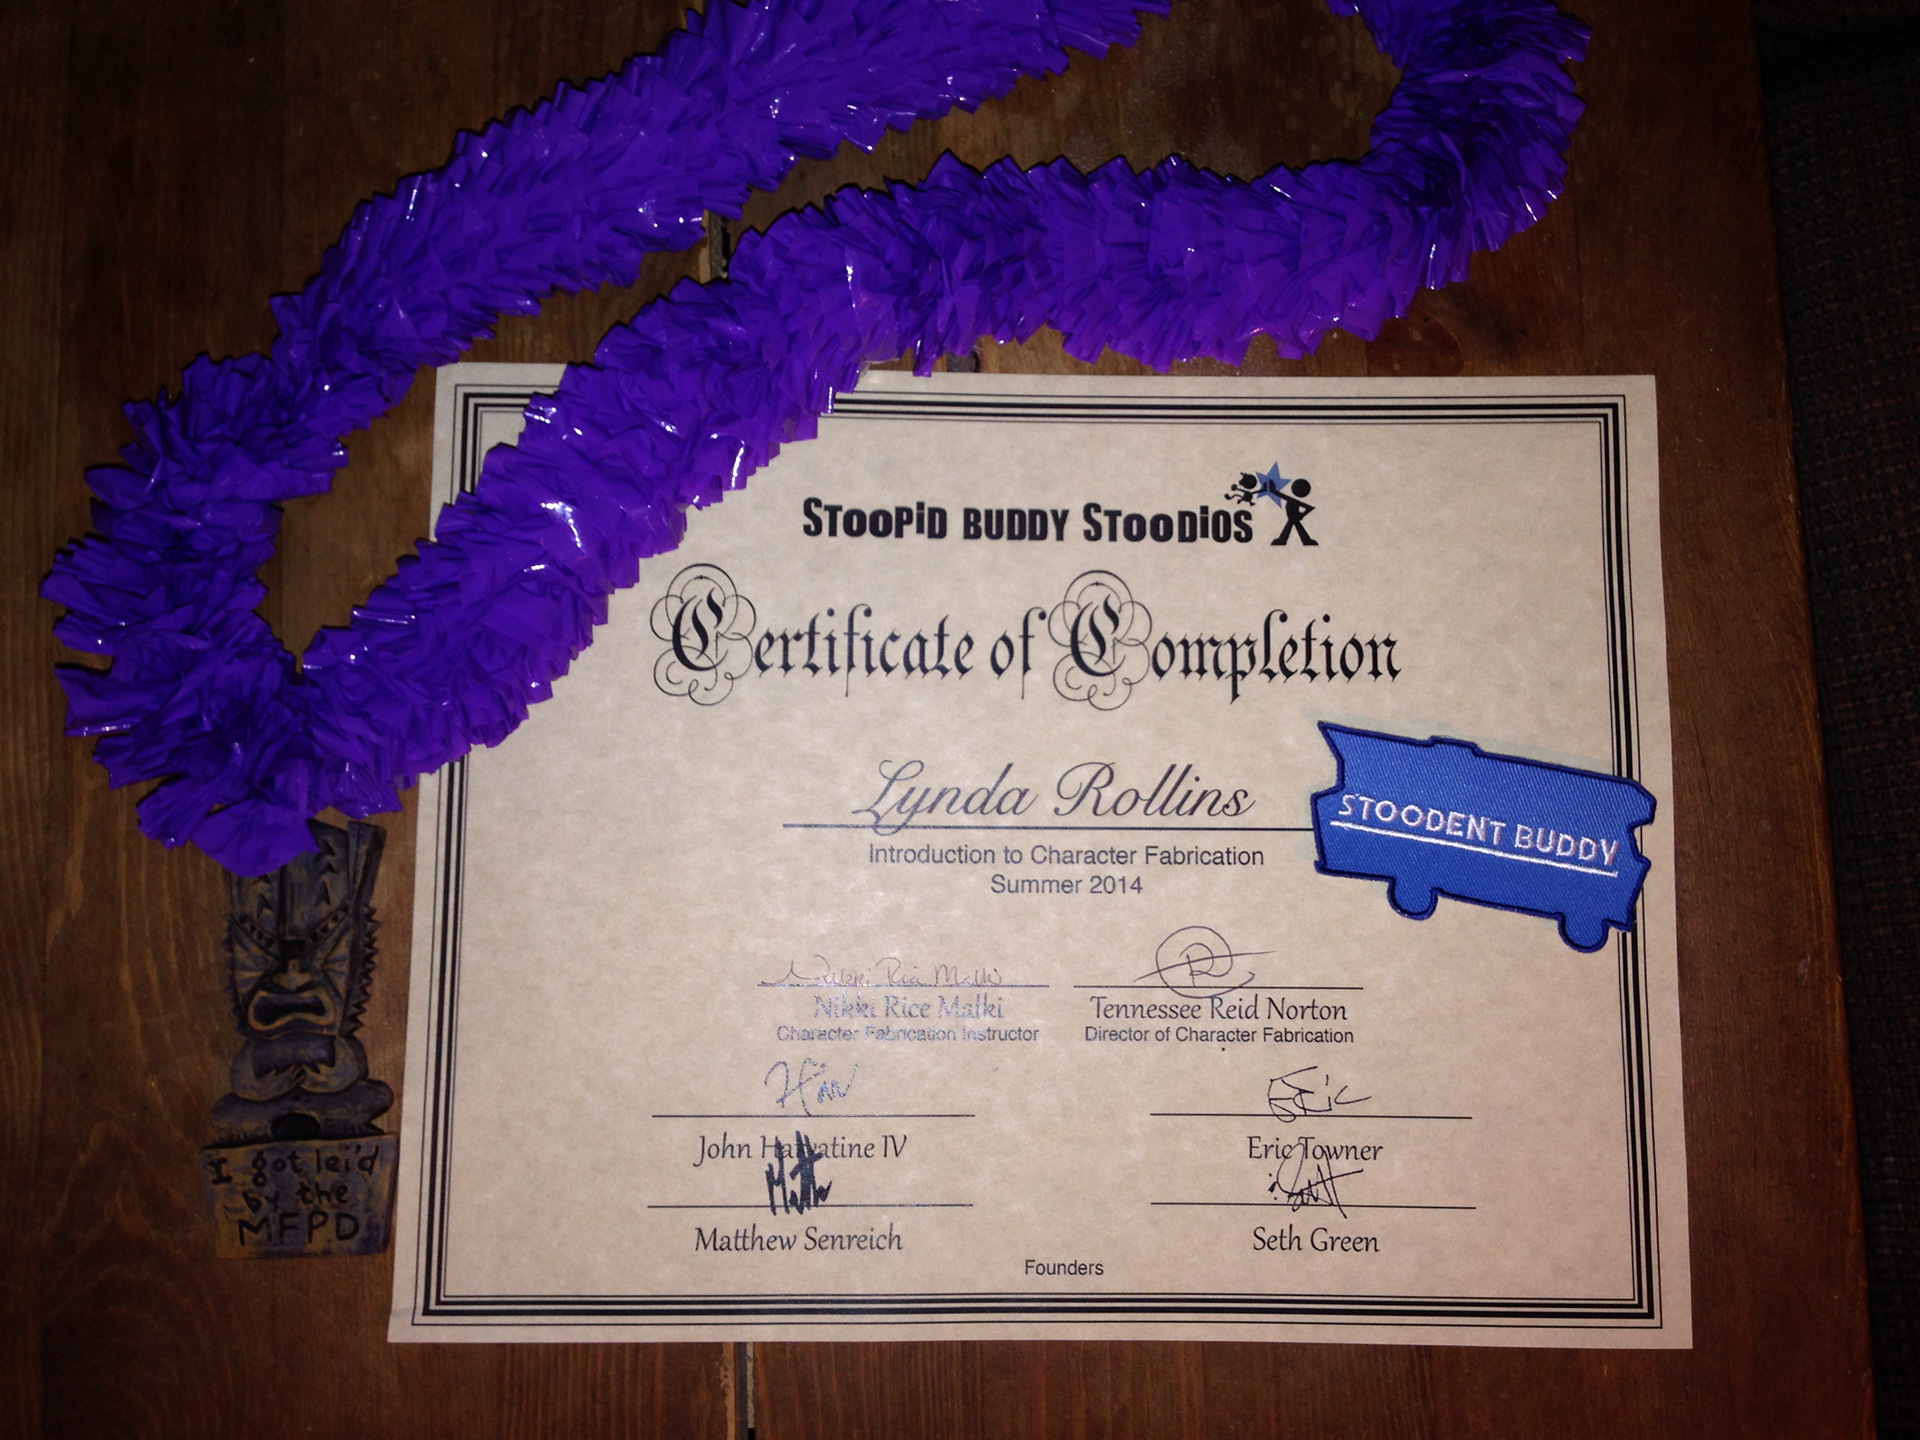
Stoopid Buddy Stoodios is awesome, but I'm sure you knew that. If not, here's proof.
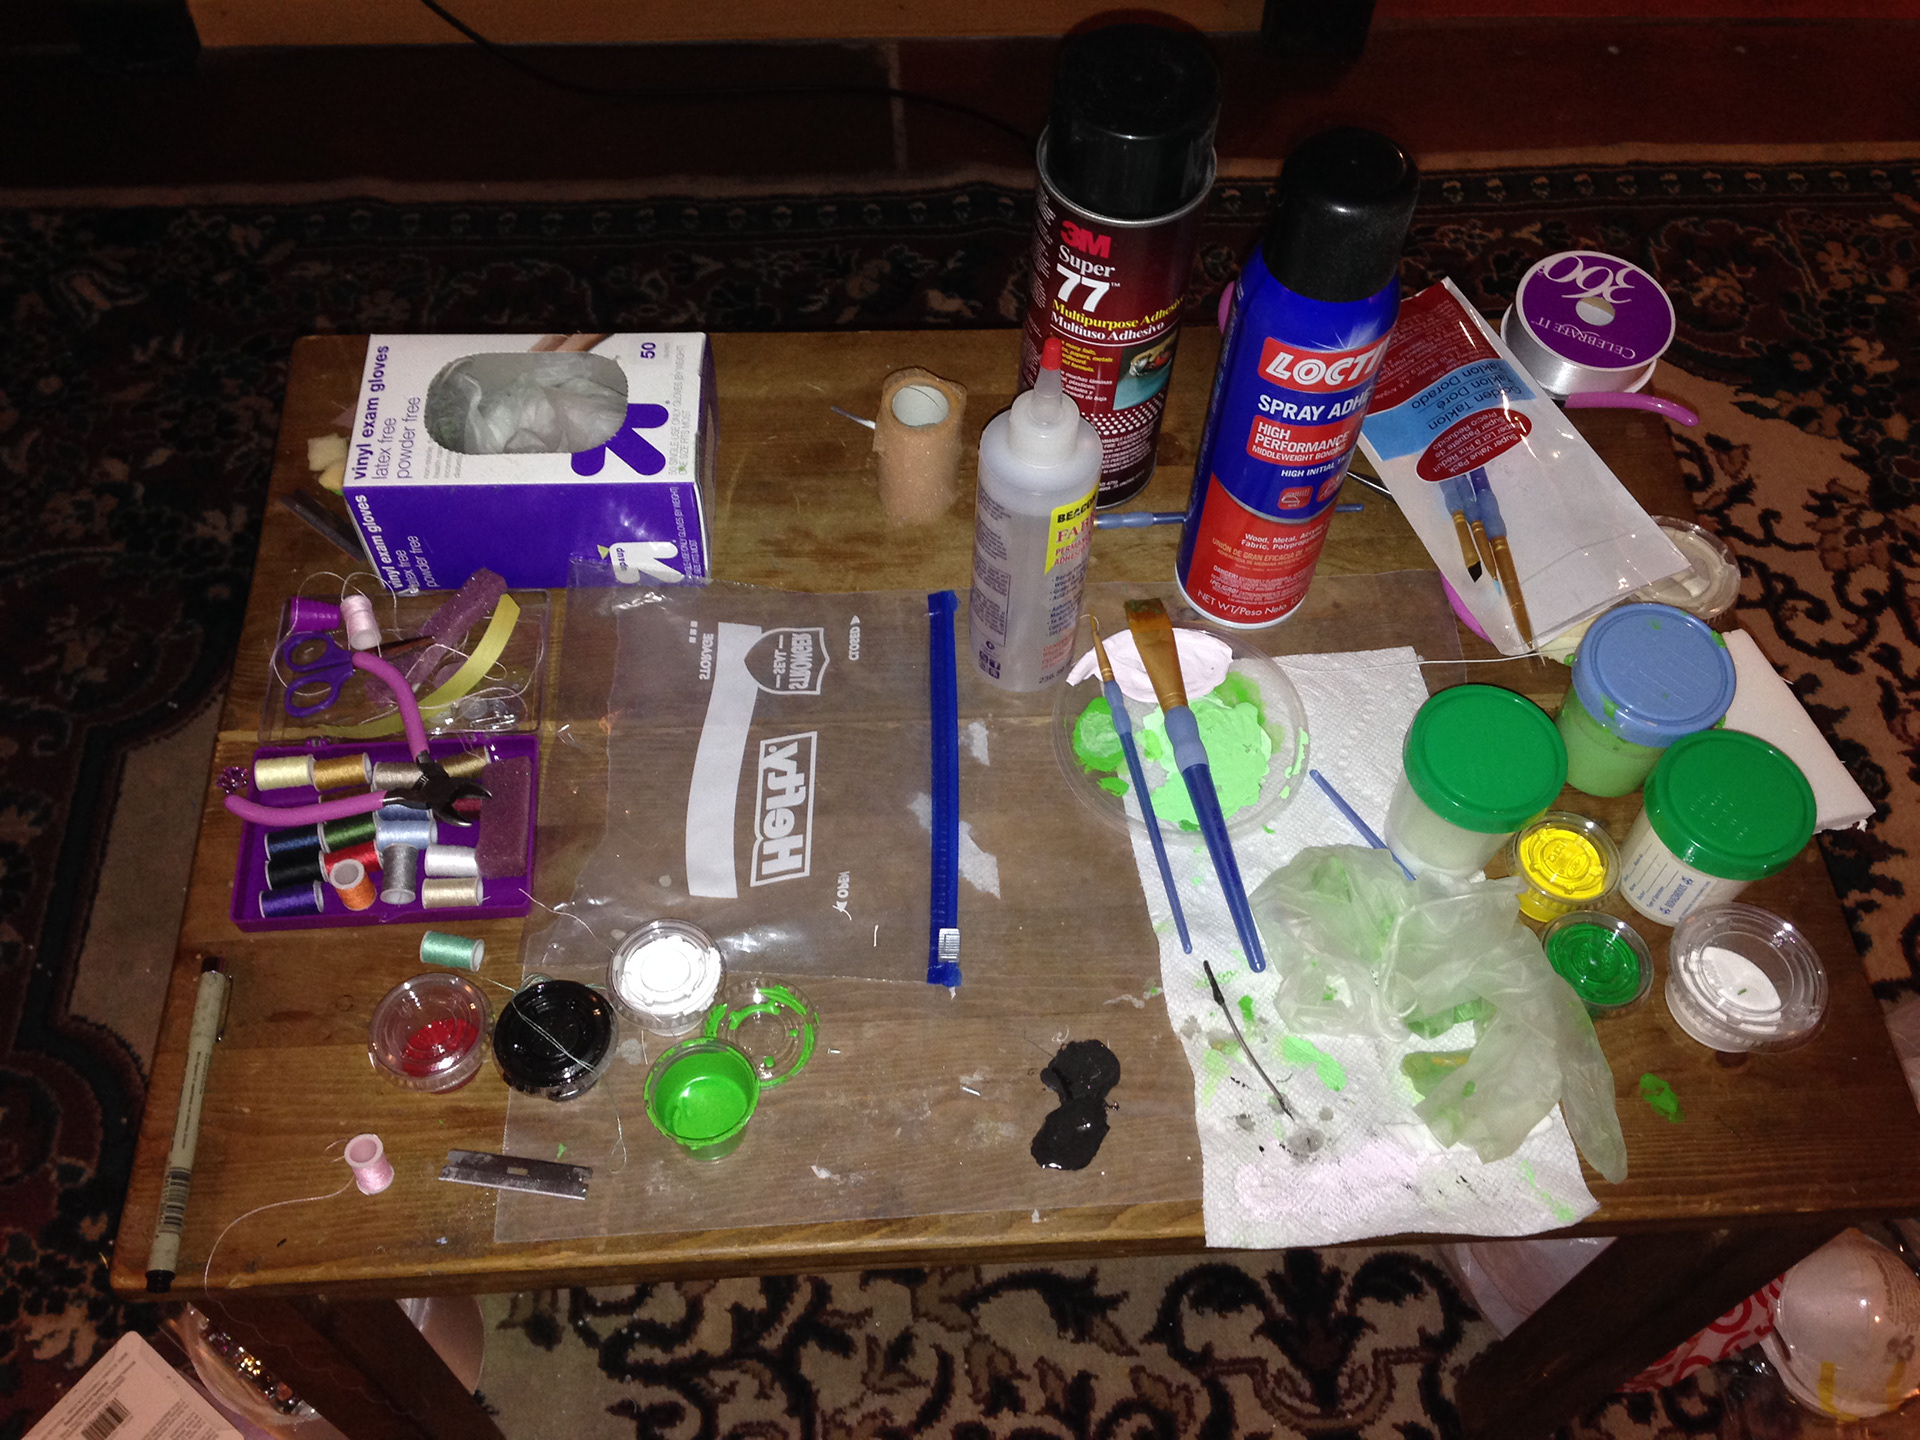
Now I just have to clean up my mess - in preparation for the next build, which will most likely be Bookworm. :-)